


USB MENU 25
ENGLISH
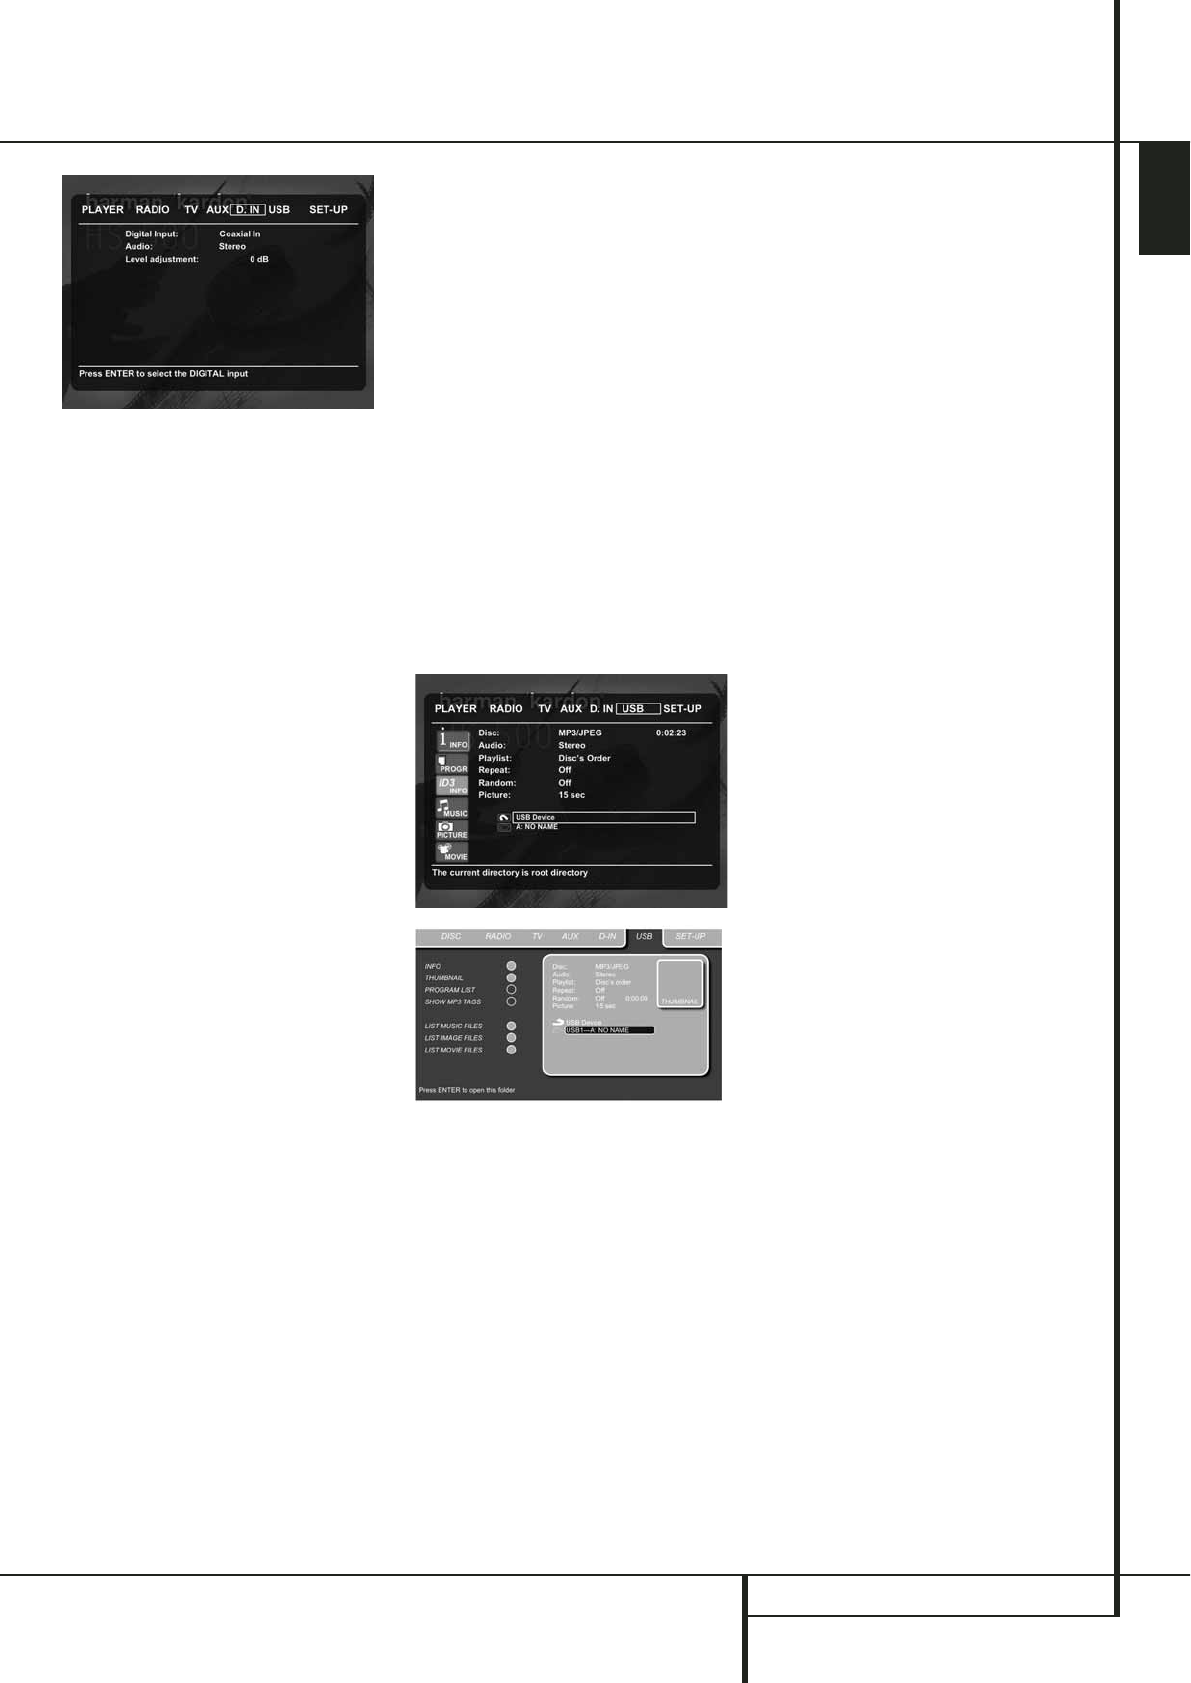
USB Menu
USB MENU
The HS systems are among the first to allow
direct playback of compatible files from portable
USB devices.Two USB On-The-Go inputs are
available, one on the right side of the product
and one on the rear panel.
Connect your USB thumb drive or portable hard
disk, to either of the side or rear panel USB
Inputs
3G
. If you have more than two
devices that you would like to connect at the
same time, you can use a standard USB-hub
with an external power supply, to which you can
connect up to 16 portable USB devices.
1. Press the USB 1 or USB 2
0
buttons on the
remote control to turn the DVD Receiver on.
Also make sure that your video monitor con-
nected to the HS 500 is switched on.
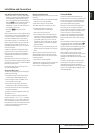
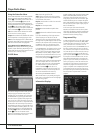
2.The TV monitor will show the below screen,
allowing you to select which of the file types
available on the device you would like to dis-
play and play. Showing different file types at
the same time like MP3 and JPEG is possible.
3. Move the cursor to the buttons on the lower
left side of the screen, and press ENTER to
select or deselect the requested file types.
In case several USB devices are connected, all
will be shown in the same USB Menu.
To differentiate the drives, they will be shown as
1 and 2. USB drives can have more than one
partition. If that is the case, the different
partitions will be shown as 1a, 1b, 1c etc.
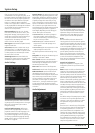
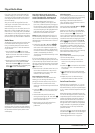
The USB Menu contains the following settings or
indications. Follow the explanations in the Upper
Menu Line on the bottom of your screen to
change the settings.
Disc: Shows the type of the disc.
Audio: Shows the audio track that is currently
playing. Options are shown on both menu lines
on the bottom of the screen.
Playlist: Sets the order in which the current disc
is played back.
Repeat: Sets the repeat mode.
(Repeat 1, Repeat Folder).
Random: Activates Random Playback when
possible.
Picture: Selects the interval between the
current picture on the screen and the next one.
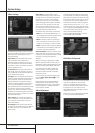
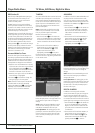
In the USB Menu, the chapter, track or picture
currently playing will be marked with an arrow
symbol in front of the Track (MP3,WMA) or
Picture (JPEG).Tracks and pictures can be
selected from this list at any time by moving the
cursor to the desired track or file and pressing
ENTER
6
to confirm.
The top part of this screen can be de-activated
to show the complete Track list on the screen.To
de-activate, move the cursor to the upper INFO
(or i INFO) Submenu on the left side of the
screen. Press ENTER
6
until the icon is
highlighted in light blue and the full Track list is
visible on the screen. In the same way the Disc
list can be removed from the screen by
deactivating the PROGRAM Submenu.
When the HS 500 is in play mode, pressing the
PLAY button on the remote control will highlight
the track being played.
If you have a USB device that contains both
music files (MP3,WMA) and JPEG images, you
can choose to run these simultaneously, mixing
the MP3 or WMA audio with your own images.
The time interval can be chosen in the Picture
Setting.
With such devices, you can also either listen to
the MP3 or WMA audio or watch the JPEG video
files only. In order to do so, click in stop mode
on the MUSIC, PICTURE or MOVIE icons on the
left part of the screen to select or deselect the
desired format.
NOTE: The HS 500 will not play back any of the
formats SVCD/VCD, MPEG1 (Video), MPEG2
(Video) and audio CD tracks (CDDA) stored on
an external USB hard drive.
• You will need a FAT32 pre-formatted external
hard disk drive with USB connector. If your disk
is formatted with another file system (like NTFS)
you will need to re-format it. Please contact your
hard disk supplier for more information.
• We recommend creating folders and sort the
files by file type (movies, pictures or music).This
will allow you to quickly find the file you’re look-
ing for.
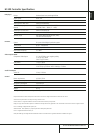
The DIGITAL IN Menu contains the following
settings. Follow the explanations in the Upper
Menu Line on the bottom of your screen to
change the settings.
Digital Input: Selects either the digital source
connected to the coaxial or to the optical digital
input as source to listen to.
Audio: Selects the Surround Mode you would
like to use when listening to one of the digital
audio sources.
Level adjustment: This setting gives you the
possibility to increase or decrease the input level
of the digital input, so that its sound will have
the same level as the radio, the DVD player or
the other audio inputs.
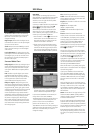
Surround Mode Chart
Dolby Digital: Available only with digital input
sources encoded with Dolby Digital data. It pro-
vides up to five separate main audio channels
and a special dedicated Low Frequency Effects
channel.
DTS: Available only with digital input sources
encoded with DTS data.Available on special
DVD, LD and audio-only discs, DTS provides up
to five separate main audio channels and a
special dedicated low frequency channel.
Dolby Pro Logic II: Dolby Pro Logic II is the
latest version of Dolby Laboratory's benchmark
surround technology that creates or decodes full
range, discrete left, center, right, right surround
and left surround channels from matrix surround
encoded programs and conventional stereo
sources.The Dolby Pro Logic II Movie mode is
optimized for movie soundtracks that are record-
ed with matrix surround, by creating true rear
left, center and right signals.The ProLogic II
Music mode should be used with musical selec-
tions, that are recorded with matrix surround or
with normal stereo mode, creating discrete rear
left and right signals.