


38
OPERATION
NOTES:
1. Analog audio signals are not converted to digital form, and
digital audio signals are not converted to analog audio form.
However, you may record a coaxial or optical digital audio
source using either type of digital audio output.
2. Only PCM digital audio signals are available for recording.
Proprietary formats such as Dolby Digital and DTS may not
be recorded using the digital audio connections, although if
the source is connected to the AVR using the analog audio
connections, an analog recording may be made.
3. HDMI and Component video sources are not available for
recording.
4. Please make certain that you are aware of any copyright
restrictions on any material you record. Unauthorized duplica-
tion of copyrighted materials is prohibited by federal law.
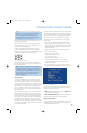
Using
The Bridge is an optional dock that may be used with a compatible iPod
(not included). When The Bridge is connected to its proprietary input on
the AVR 147 and the iPod is docked, you may enjoy the audio, video
and still-image materials on your iPod through your high-quality
audio/video system, operate the iPod using the AVR remote or the
AVR’s front-panel controls, view navigation messages on the AVR’s front
panel or a connected video display, and charge the iPod.
Either press the front-panel Source Selector repeatedly until the message
“DMP/The Bridge is CONNECTED” scrolls across the front-panel and
semi-OSD displays, or press the DMP Button on the remote to select
The Bridge as the input source.
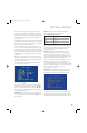
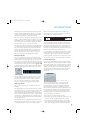
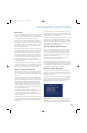
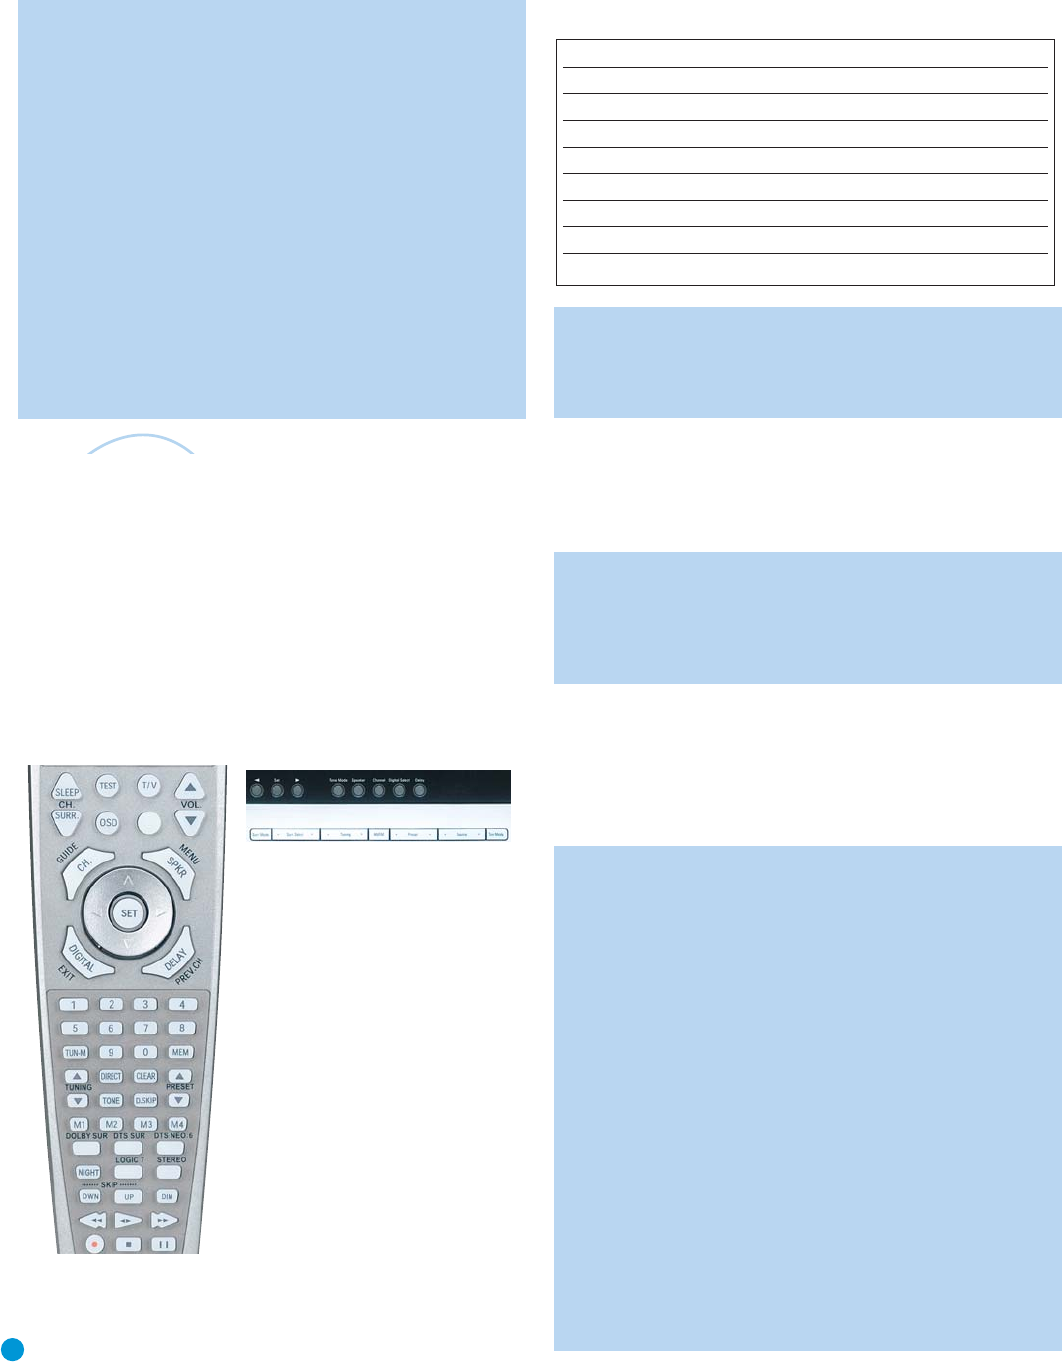
(Left) Figure 73 – Using The Bridge (Remote)
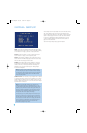
(Above) Figure 74 – Using The Bridge (Front Panel)
Table 5 summarizes the controls available when The Bridge is in use;
see also Figures 73 and 74.
Table 5 – Using The Bridge
NOTE: For the Search function, press and hold the indicated button.
Pressing the Previous Track Button once skips to the beginning of
the current track. Press the Previous Track Button
twice
to skip to
the beginning of the previous track.
It is possible to activate Repeat (one track or one album/playlist) and
Shuffle (songs or albums) modes using the DMP SETTING menu (see
Figure 54). This menu may also be used to turn on the Resume feature,
which resumes play of the current track from the point it was interrupted,
or to enable charging while the AVR is in Standby mode.
NOTE: The Resume setting disables the Remember Playback
Position setting that you may set for audio and video files using
later versions of iTunes. Resume affects all files on the iPod until
you manually change the setting either in the DMP SETTING
menu or using iTunes.
Access the DMP SETTING menu by pressing OSD to display the
MASTER MENU. Press the Set Button to display the INPUT SETUP
menu. When DMP/The Bridge is selected as the current source, you
may scroll down to the GO TO DMP SETTING line and press the Set
Button to display the DMP SETTING menu. See the Initial Setup section
for more information on using the DMP SETTING menu.
NOTES ON VIDEO PLAYBACK:
• Before attempting to play videos stored on your iPod, check the Video
Settings menu on the iPod and make sure that the TV Out setting is set
to On. The TV Signal setting should be NTSC to match the capabilities of
your video display. Set Widescreen to On or Off, depending on the aspect
ratio of your video display. If your selection was playing and paused at the
time you changed the TV Out setting, the iPod may require you to navi-
gate its menu system and reselect the video for the new TV Out setting
to take effect. Resuming play from the Now Playing function may not
reflect the change to the TV Out setting. This is a function of the iPod,
not the AVR 147.
• In Video mode, the iPod’s menus will not be visible on your video display,
although you may view them on the iPod’s screen. You may operate the
iPod using the AVR remote, as long as it is in The Bridge device mode.
• You may view the AVR’s on-screen displays while The Bridge is in use,
just as you would with any other video source.
• The MP4 and H.264 video formats often used for videos to be played
on the iPod are intended for optimal performance on the iPod’s small
screen. Playback on larger displays may have different results.
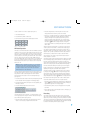
iPod Function Remote Control Key Front-Panel Button
Play Play (›) Tuner Mode
Pause Pause (II) Tuner Mode
Menu Menu (Spkr) Tuner Band (AM/FM)
Select Set Set
Scroll Forward Left Arrow (‹) Preset Down
Scroll Reverse Right Arrow (›) Preset Up
Forward Search/Next Track Forward/Next (››) Tuning Up
Reverse Search/Previous Track Reverse/Previous (
‹‹) Tuning Down
The
Brid
g
e
TM
AVR147-OM.qxd 2/6/07 3:18 PM Page 38