


33
OPERATION
Now that you have installed your system components and completed
at least a basic configuration of your receiver, you are ready to begin
enjoying your home theater system.
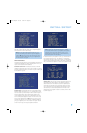
Turning On the AVR 147
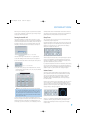
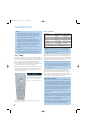
Gently press the Master Power Switch until the word OFF is no longer
visible. The Power Indicator above the two power switches should light up
in amber. This indicates that the AVR is in Standby mode and is ready to
be turned on. Normally, you may leave the Master Power Switch in the
ON position, even when the receiver is not being used. See Figure 55.
Figure 55 – Power Switches
There are several ways in which the AVR 147 may be turned on:
a) Press the Standby/On Switch on the front panel. See Figure 55.
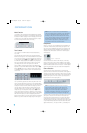
b) Press the Source Select Button on the front panel. See Figure 56.
Figure 56 – Source Select Button
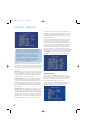
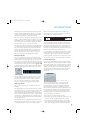
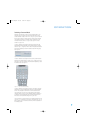
c) Using the remote, press any one of these buttons: AVR, DVD/CD,
TAPE/The Bridge, HDMI 1/HDMI 2, VID1, VID2, VID3, XM, AM/FM
or 6CH. See Figure 57.
Figure 57 – AVR and Input Selectors
NOTE: Any time you press one of the remote’s Input Selectors
(i.e., DVD/CD, TAPE/The Bridge, HDMI 1/HDMI 2, VID1, VID2 or
VID3), the remote will switch modes so that it will only transmit
the codes programmed to operate that device. In order to con-
trol the receiver, you will need to press the AVR Button to return
the remote to AVR mode.
To turn the receiver off, press either the Standby/On Switch on the
front panel, or press the AVR Button and the OFF Button on the remote.
Unless the receiver will not be used for an extended period of time
(for example, if you will be on vacation), it is not necessary to turn off
the Master Power Switch. When the Master Power Switch is turned off,
any settings you have programmed, including system configuration and
preset radio stations, will be preserved for up to four weeks.
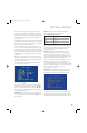
Sleep Timer
You may program the AVR to play for up to 90 minutes and then turn
off automatically using the sleep timer.
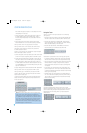
Press the Sleep Button on the remote, and the time until turn-off will be
displayed. See Figure 58. Each additional press of the Sleep Button will
reduce the time until turn-off by 10 minutes, until the OFF setting is
reached, which disables the sleep timer.
Figure 58 – Sleep Button
When the sleep timer has been set, the front-panel display will automati-
cally dim to half-brightness. If you press any button on the remote or
front panel, the display will return to full-brightness. The display will dim
again several seconds after your last command.
If you press the Sleep Button after the timer has been set, the remaining
time until turn-off will be displayed. You may press the Sleep Button to
change the time until turn-off. Pressing and holding the Sleep Button will
disable the sleep timer, and the SLEEP OFF message will appear.
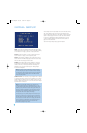
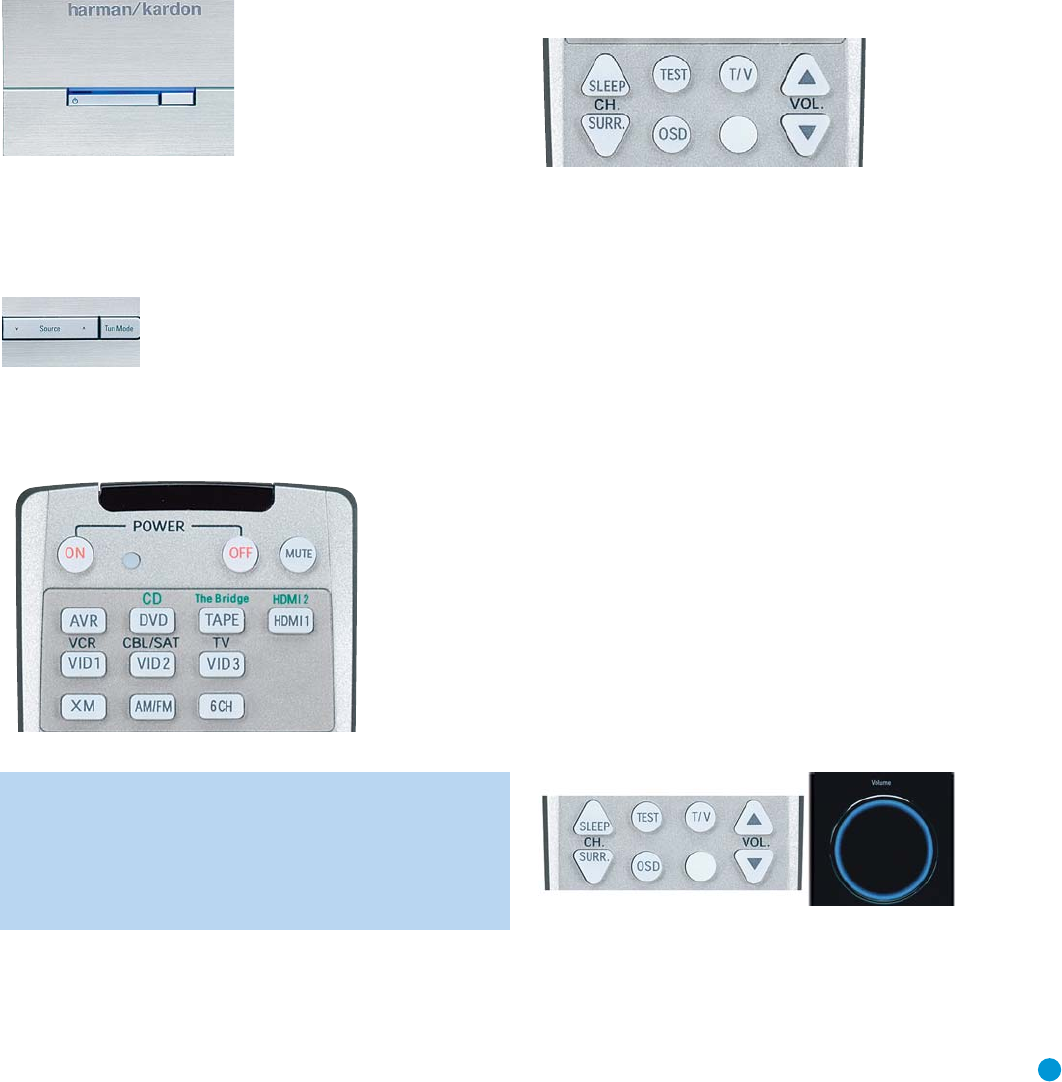
Volume Control
The volume may be adjusted either by turning the knob on the front
panel (clockwise to increase volume or counterclockwise to decrease
volume), or by pressing the Volume Control Buttons on the remote.
See Figure 59. The volume is displayed as a negative number of
decibels (dB) below the 0dB reference point, and may be changed
in 0.5dB increments.
Unlike the volume controls on some other products, 0dB is the maximum
volume for the AVR 147. Although it’s physically possible to turn the
volume to a higher level, doing so may damage your hearing and your
speakers. For certain more dynamic audio materials, even 0dB may be
too high, allowing for damage to equipment.
Figure 59 – Volume Controls
The AVR 147 is designed to reproduce audio with a minimum amount
of distortion, which may lead you to think that your hearing and the
equipment can handle higher volumes. We urge caution with regard
to volume levels.
AVR147-OM.qxd 2/6/07 3:18 PM Page 33