


SYSTEM CONFIGURATION 23
and right bass frequencies under the crossover
frequency selected in the next option setting
on this menu, as described below.
9.When you have completed your selection for the
subwoofer,press the
¤
Button
D
on the
remote to change the cursor to SUBX-
OVERFREQ.The subwoofer crossover set-
ting may only be adjusted using the on-screen
display system.
At this line, you will select the frequency under
which bass information is directed to the
Subwoofer Output ∞ and above which the
remaining signal is directed to all speakers that
are set to SMALL.The choices available will
depend on the setting made previously for the
front left/right speakers.When making
these
selections, choose the crossover frequency
that is
closest to the lower frequency limit of your front
left/right speakers.This figure is normally printed
in the owner’s manual or data sheet for the
speakers; or consult the speaker’s manufacturer.
• When the front speakers have been set to
LARGE,the crossover choices are 40Hz
or 60Hzto match the typical crossover
points of full range speakers.When you use
large full range front speakers,able to repro-
duce bass below 40Hz with sufficient power,
choose 40 Hz, otherwise select 60 Hz.
• When the front speakers have been set to
SMALL,the crossover choices are 80Hz
or 100Hzto match the typical crossover
points of the smaller speakers used in satellite
speaker systems. Choose the option that is
closest to your speakers’ design.
10.When all speaker selections have been made,
press the
¤
Button
D
and then the Set
Button
F
to return to the Main menu.
11.The Speaker Configuration may also be
changed at any time without using the full-OSD
on-screen menu system by pressing the Speaker
Select button on the remote
a
. Once the but-
ton is pressed, FNTSPEAKERwill appear
in both the lower third of the video display and
the Main Information Display
Y
.
Within five seconds, either press the front panel
‹/› Selector buttons
7$
or the ⁄/¤ but-
tons
D
on the remote to select a different
speaker position, or press the Set Button
@
F
to begin the adjustment process for the front left
and right speakers.
When the Set button
@
F
has been pressed
and the system is ready for a change to the front
speaker setting, the on-screen display and Main
Information Display
Y
will read FNT
LARGEor FNTSMALLdepending on
the current setting. Press the front panel
‹/›
Selector Buttons
7$
or the ⁄/¤ buttons
D
on the remote until the desired setting is
shown, using the instructions for “large” or
“small” shown earlier,then press the Set button
@
F
.
If another speaker position needs to be changed,
press the front panel
‹/› Selector buttons
7$
or the ⁄/¤ buttons
D
on the remote
to select a different speaker position, press the
Set button
@
F
and then press the front
panel
‹/› Selector buttons
7$
or the
⁄/¤ buttons
D
on the remote until the cor-
rect speaker setting is shown and press the Set
button
@
F
again to confirm the selection.
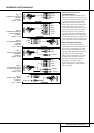
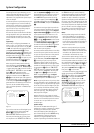
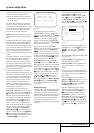
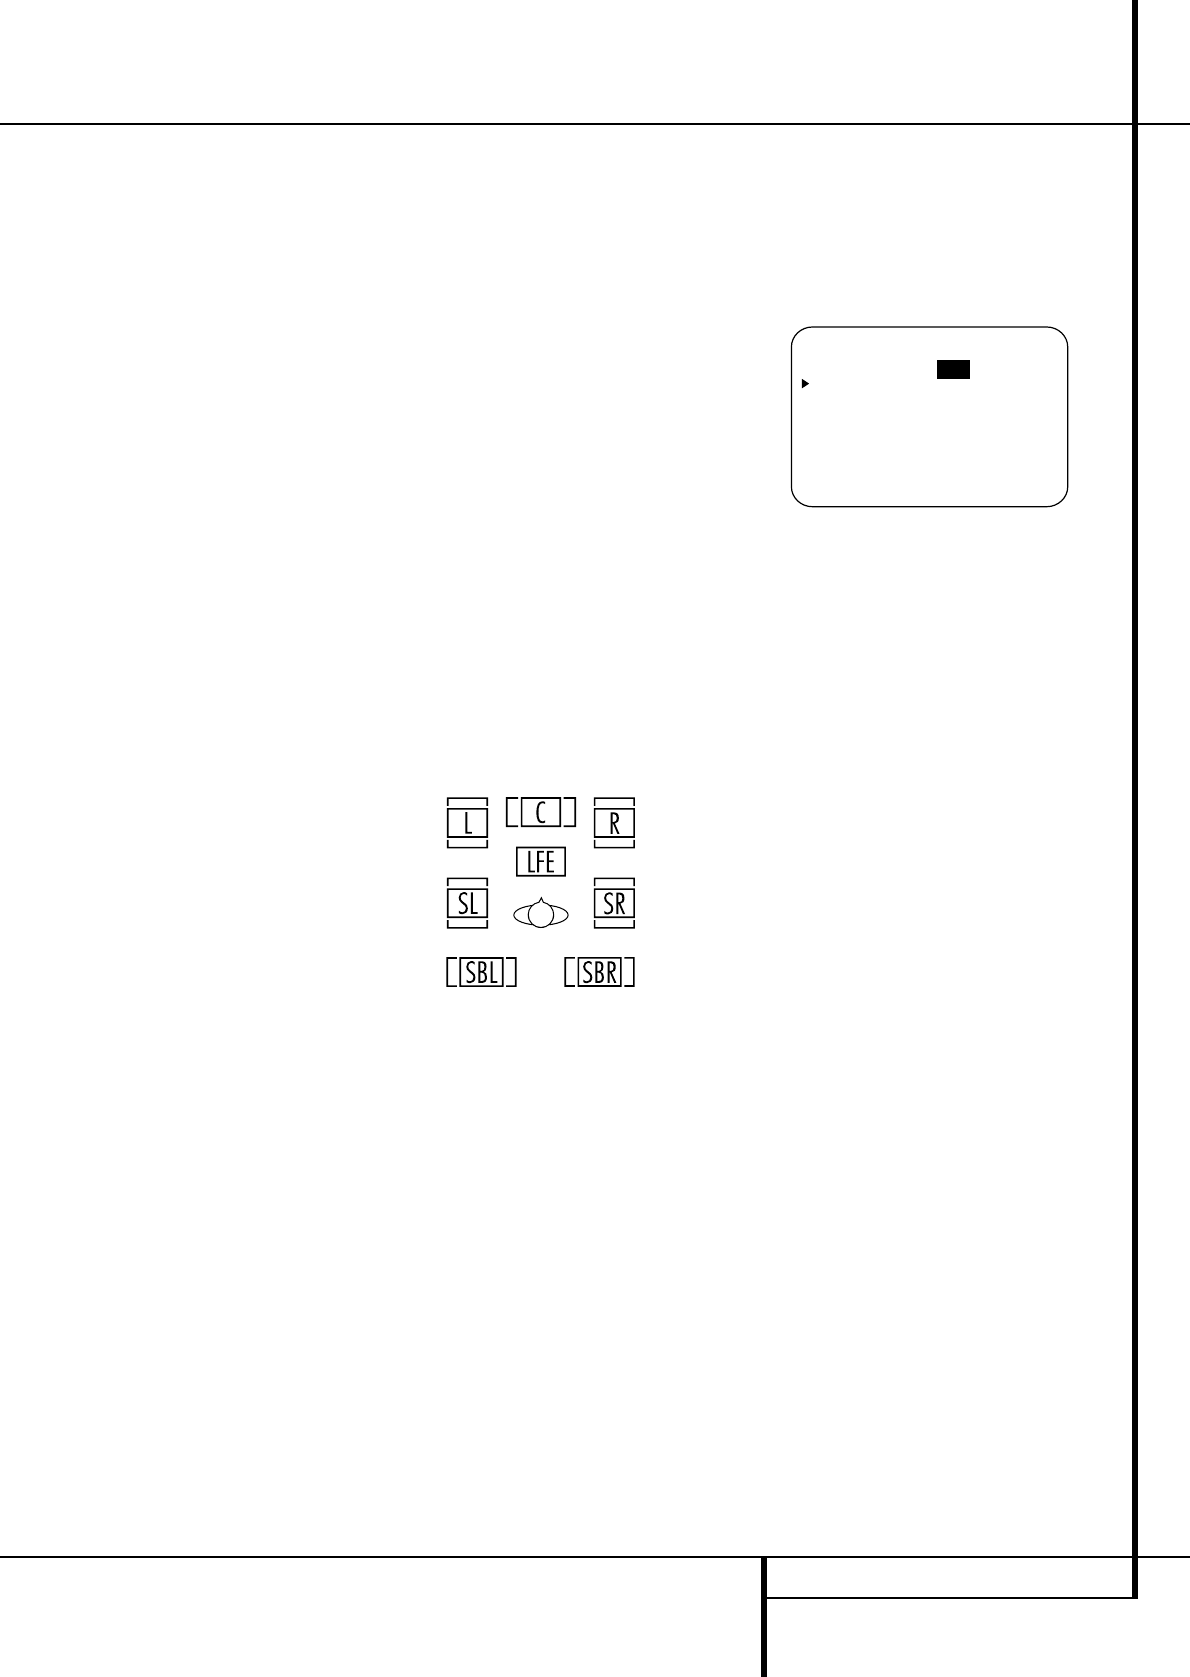
To assist in making these settings, the icons in
the Speaker/Channel Input Indicators
Q
will change as the speaker type is selected at
each position.When only the inner icon box is lit,
the speaker is set for “small.”When the inner box
and the two outer boxes with circles inside them
are lit, the speaker is set for “large." When no
indicator appears at a speaker location, that
position is set for “none” or “no” speaker.
Note:These icons are available only when mak-
ing setup changes without the use of the full
OSD mode.
As an example, in the Figure below, all speakers
are set for “large,” and a subwoofer is set.
Surround Setup
Once the speaker setup has been completed, the
next step for that input is to set the surround
mode you wish to use with that input. Since sur-
round modes are a matter of personal taste, feel
free to select any mode you wish – you may
change it later.The Surround Mode chart on page
28 may help you select the mode best suited to
the input source selected. For example you may
select Dolby Pro Logic II or Logic 7 for most ana-
log inputs and Dolby Digital for inputs connected
to digital sources. In the case of inputs such as a
CD Player,Tape Deck or Tuner, you may wish to
set the mode to Stereo, if that is your preferred
listening mode for standard stereo sources,
where it is unlikely that sur
round encoded materi-
al will be used.Alternatively, the 5 Channel Stereo
or
Logic 7 Music mode may also be a good
choice for stereo-only source material.
It is easiest to complete the surround setup using
the full-OSD on-screen menus. From the MAS-
TER menu (Figure 1),press the
⁄
/
¤
buttons
D
until the
›
cursor is next to the SUR-
ROUNDSELECTmenu.Press the Set
Button
F
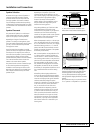
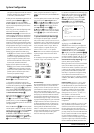
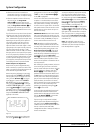
so that the SURROUND
SELECTmenu (Figure 4) is on the screen.
Figure 4
The first line on the SURROUND
SELECTmenu allows you to configure the
AVR for either standard 5.1 or advanced 6.1/7.1
operation.With the on-screen
›
cursor at the
SURRMODEline,press the Set Button
F
and then press the
‹
or
›
Buttons
EZ
so that 5.1 is highlighted if you have no sur-
round back speakers installed, or 6.1/7.1 if
you have one or two speakers connected to the
Surround Back Preamp Outputs
b
through
optional, external power amplifiers.
Making this selection will set the surround mode
options for the AVR so that only the correct
modes for the number of speakers in your specif-
ic system will be available. Should you change
your system and add additional speakers at a
later date, it is important to change this setting
so that advanced surround modes such as 7
Channel Stereo, Logic 7/7.1, DTS-ES 6.1 Discrete
and Matrix, DTS+NEO:6, and DTS NEO:6 will be
available.
Important Note: As this 5.1 or 6.1/7.1 selec-
tion is a basic configuration for your system it
will be effective with all inputs and need not be
repeated with all other inputs in use. Moreover
this setting is linked with the Surround Back
Speaker selection outlined on page 22, both
settings will turn on ("6.1/7.1") or off ("5.1")
these speakers in the same manner.
When the desired selection is made, press the
Set Button
F
to continue with the setup and
configuration.
Once the setting is made for 5.1 or 6.1/7.1 oper-
ation, the default surround mode for an input
should be set. Each of the remaining five lines on
the menu (Figure 4) contains the various sur-
round mode categories, and within those menus
you may choose one of the sub-modes. Note that
the list of specific sub-modes in some categories
will vary according to whether 5.1 or 6.1/7.1
operation is chosen and Dolby Digital will appear
only when a digital input is selected. In addition,
the DTS modes (except NEO:6) available in the
* SURROUND SELECT *
SURR MODE: 5.1 6.1/7.1
DOLBY
DTS
LOGIC 7
DSP (SURR)
STEREO
BACK TO MASTER MENU
System Configuration