


24
INSTALLATION
• Auto Programming
: Wait for the remote to retrieve its entire library of
codes for the device type. You will have to press the
KL
Buttons to transmit
every code for the device type until a compatible code set is found.
When a compatible code set is found, press the OK Button to program it 1.
into the Source Selector.
Check that other functions control the device correctly. Sometimes 2.
manufacturers use the same Power code for several models, while other
codes vary. Repeat this process until you’ve programmed a satisfactory
code set that operates most functions.
To change the device type of a Source
Selector:
If your system includes two products of one device type but no product
corresponding to a different Source Selector, you may program one product
into its corresponding Source Selector, and change another Source Selector’s
device type to program the second product by following this procedure:
Access the remote’s menu system by pressing and holding the AVR 1.
Settings Button for 3 seconds, until the “Main Menu” and “Program
Device” messages appear in the LCD Display.
Use the 2.
KL
Buttons to select “Change Device Type” from the remote’s
main menu, and press the OK Button.
Use the 3.
KL
Buttons to select the Source Selector whose device type you
wish to change, and press the OK Button. Your selection will appear on
the left side of the lower line, while the choice of new device types will
appear on the right side.
Use the 4.
KL
Buttons to select the new device type you wish to assign to
the Source Selector, and press the OK Button.
Program your product into the Source Selector by choosing the brand, 5.
then searching for a compatible code set, as described in the preceding
section. If you allow the remote to “time out”, then the device type
reassignment will not take effect.
To “learn” individual key codes:
If some functions do not work correctly, you may reprogram individual keys
from the device’s original remote by following this procedure:
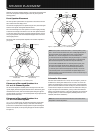
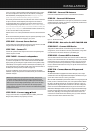
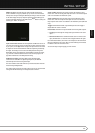
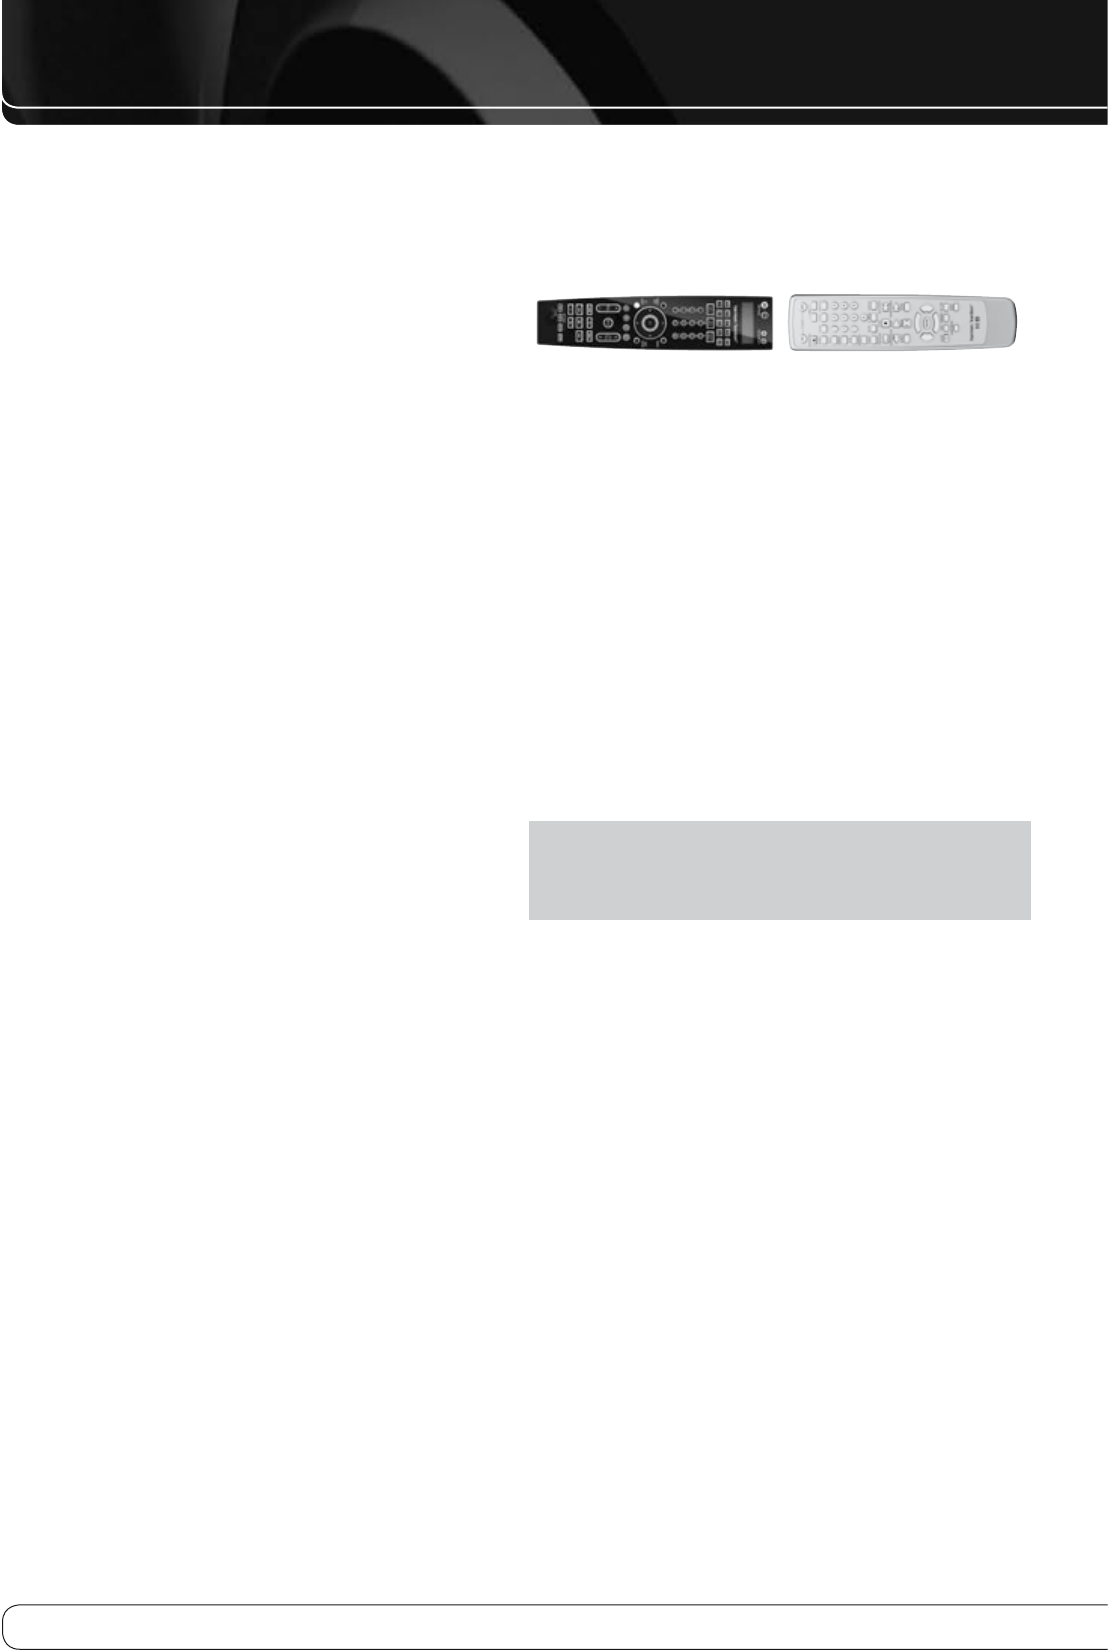
Place the two remotes with their IR transmitters facing each other, about 1.
one inch apart. See Figure 19.
Figure 19 – AVR and Device Remotes “Head to Head”
Access the remote’s menu system by pressing and holding the AVR 2.
Settings Button for 3 seconds, until the “Main Menu” and “Program
Device” messages appear in the LCD Display.
Use the 3.
KL
Buttons to select “Learn” from the remote’s main menu, and
press the OK Button.
When the “Learn Menu” message appears in the upper line of the LCD 4.
Display, make sure the “Learn” message appears in the lower line (not
“Learn Delete”), and press the OK Button.
Use the 5.
KL
Buttons to select the device you wish to learn a code for,
and press the OK Button.
Press the destination button, and the menu will prompt you to press the 6.
key on the original remote whose code you wish to program into the
destination button. You may learn a new code into the following buttons:
Device Power On/Off, Alphanumeric Keys, Last Button, Back/Exit Button,
Menu Button, Navigation Buttons, OK Button, Disc Menu Button, the four
Soft Keys, Channel Up/Down, Volume Up/Down, Mute and the Transport
Controls (including Record).
NOTE
: If you press the wrong destination button and wish to cancel the
learning process, you must wait about 30 seconds for the remote to “time
out”. It will exit its program mode and return to normal operation, and you
may begin again. Pressing another button will have no effect.
Press the key on the original remote, and if the code was learned correctly, 7.
the Navigation and OK Buttons will light up. The Learn Menu will prompt
you to learn another key, rename the key just learned or exit Learn mode.
Use the
KL
Buttons to make your selection, and press the OK Button.