


SYSTEM SETUP 33
ENGLISH
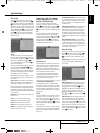
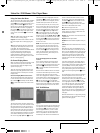
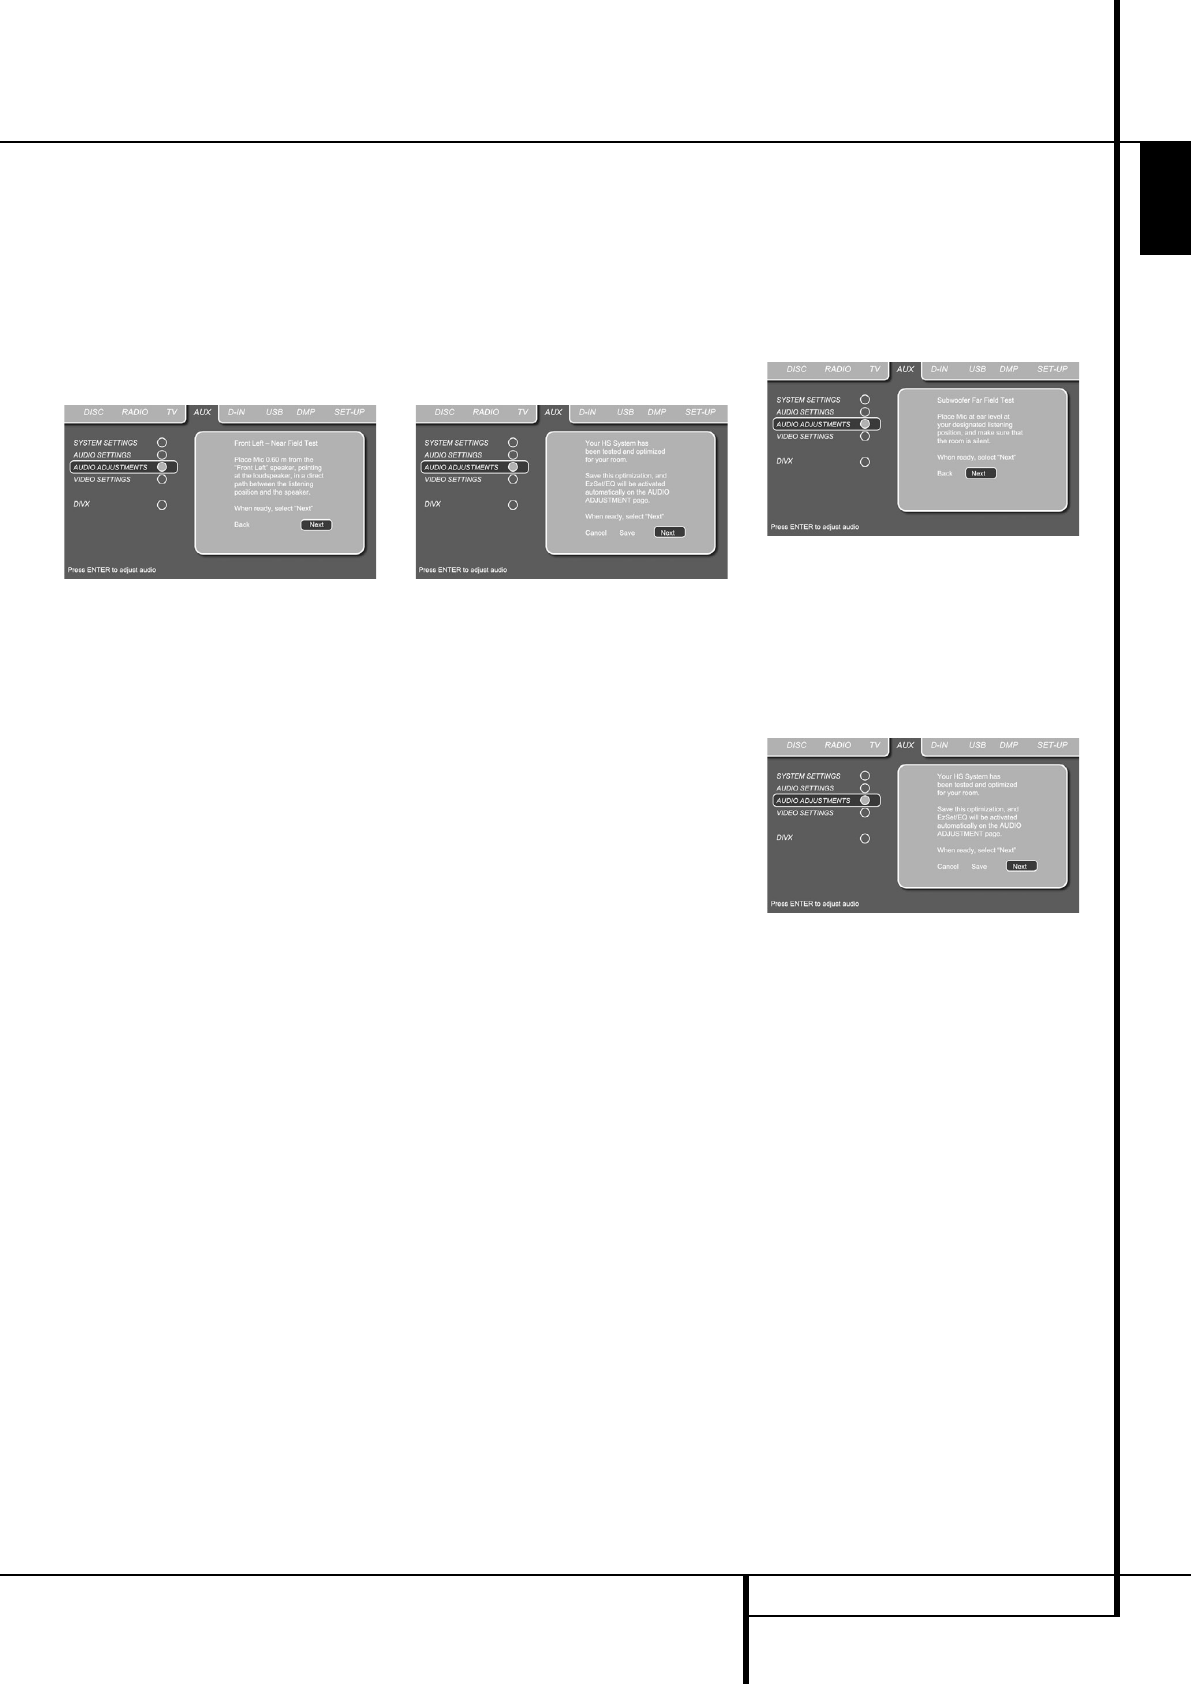
Step 8. When the Far Field measurements are
completed, the system will ask you to take Near
Field measurements, one at each five speaker
position. These measurements enable EzSet/EQ
to produce the most accurate settings for both
high and low frequency equalization. The Near
Field measurements are similar to the Far Field
tests, except that the system will “listen” to only
one speaker at a time, rather than sending the
test signals to all speakers in rotation.
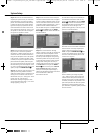
Figure 6f
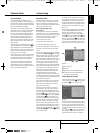
Step 9. During the Near Field testing, (Figure
6f), you will see an instruction to place the
microphone in a different position than the one
used for the initial Far Field measurements. This
time, place the microphone close to the speaker
to be measured, at a distance of about 1 meter.
In addition, the top of the microphone should be
pointed towards the speaker, rather than point-
ing up as was done for the Far Field tests. For the
first measurement, place the microphone so that
it is close to, and pointing towards, the front left
speaker, and press the ENTER Button
6
.
Step 10. One short test signal will be sent to the
speaker position being calibrated and after a
slight pause from the system to calculate the test
results, you will see either the next Near Field
Measurement screen, or a "Testing Error" screen.
In most cases, the “next Near Field
Measurement” message will appear, in which
case you should proceed to Step 11, if an “Error”
message appears, go to Step 12.
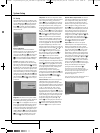
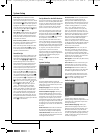
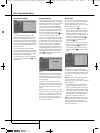
Step 11. If the test results were successful, the
next Near Field Measurement screen will appear.
In order to properly calibrate the system, you will
need to run the Near Field tests for all five chan-
nel speakers. Repeat Steps 8 through 11 until all
speakers have been calibrated. When that is
done the Near Field process is complete. With the
cursor highlighting
NEXT press the ENTER
Button
6
to continue with the Subwoofer Far
Field measurements.
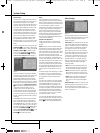
Figure 6g
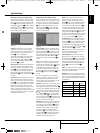
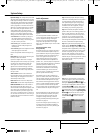
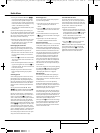
Step 12. If a “Near Field Error” message
appears, as shown in Figure 6h, you should check
to make certain that the microphone is about
one meter from the speaker being tested and
that the top of the microphone unit is pointing
towards the speaker. You may also have to raise
or lower the master volume to achieve accurate
readings. After checking these two items, as
needed, make certain that the cursor is pointing
to the
RETEST line and press the ENTER
Button
6
. This will return you to the NEAR
FIELD EQ SELECT
menu (Figure 6h)
where you should repeat Steps 8 through 11,
adjusting the microphone placement and volume
level as needed until all Near Field
Measurements are done.
The next and final step is to have EzSet/EQ run
the Subwoofer measurements. Make sure the
cursor is highlighting
NEXT, and press ENTER
Button
6
to start the Far Field Measurement
for the Subwoofer. Note that the measurement
microphone will need to be again at the
preferred listening position, at ear level, as with
previous Far Field measurements.
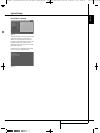
Figure 6h
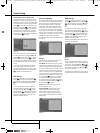
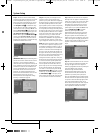
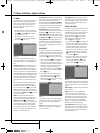
When both the Far Field and Near Field measure-
ments have been successfully completed your
system is ready for use. Move the cursor to
SAVE and press the ENTER Button
6
. This
will save your EzSet/EQ settings, and will show
the results of the measurements, similar to the
screen shown in Figure
6i
.
Figure 6i
Thanks to EzSet/EQ, the settings for speaker
“size”, speaker crossover, channel output and
individual channel delay time have been auto-
matically set and require no further adjustment.
In addition, EzSet/EQ has also performed a com-
plete room equalization that tailors the system’s
performance for the best possible sound with
your combination of speakers, speaker placement
and room acoustics.
System Setup
0007CSK - DigitalLounge 632_640_646 ENG v11.qxp:0007CSK - DigitalLounge 632,640,646 UK 12/06/08 11:11 Side 33 (Sort/Black plade