


Show Logo: Defines whether the Harman
Kardon Digital Lounge splash screen will be
shown each time the system is turned on. Should
you wish to change the Show Logo Setting, press
the Enter Button
6
once the Show Logo line is
highlighted. The blue bar will disappear and the
rest of the settings will fade out. Set the logo on
or off by pressing the
N
or
M
Buttons
9
. Press
the Enter Button
6
to confirm.
Tuner Mode: Switches between the analog and
the digital (DVB-T) tuners. Please remember to
make sure that when changing from one tuner
mode to the other, the one you have selected is
connected to the antenna.
Reset to factory defaults: The Reset proce-
dure erases all TV station memories and returns
all picture adjustments to default values.
When all the Set Up Menus for the Screen have
been set, press the Red Button
N
to exit the
Screen Set Up Menu and continue with the Set
Up Menus of the DVD Receiver.
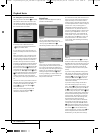
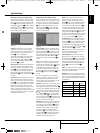
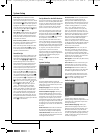
Sound Set Up:
This function is necessary to combine one of the
three Digital Coaxial sound Inputs and the one
Digital Optical sound Input on the rear panel of
the screen (Inputs
P
,
V
,
W
and
X
) with the
desired Video Input Source. Each of the four
Digital Sound Inputs may be allocated to work
with one of the 11 possible Video Inputs. Of
course, you only have to perform this procedure
for those inputs that you actually wish to use.
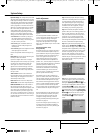
From the Setup Start Screen shown above, scroll
down with the
L
Button
9
to highlight first
Global Setup, then Sound Setup. As explained in
the On Screen bottom text line, press Enter
6
to choose the Sound Setup options, followed by
pressing the
N
Button
9
to highlight the top-
most Coaxial In 1 menu line. Again, press Enter
6
to open access to Coaxial In 1. Now you can
scroll through the options with the
N
or
M
Buttons
9
. The start option for all inputs is
"None", followed by (scrolling with the
N
Button): AV 1, AV 2, CVBS, YC, YUV, HDMI 1,
HDMI 2, DVD, HDMI 3, PC (RGB) and PC (DVI)
inputs. Note that you may scroll in both direc-
tions, and that both Digital and Analog Inputs
are available for selection. Having chosen the
proper video input, press Enter again. You may
now proceed to the other Coaxial Inputs or the
Optical Input. When you are done, press the Red
Button
N
to exit the Menu.
Set Up Menu for the DVD Receiver
The next step in checking or changing the system
defaults is to access the Setup Menu of the DVD
receiver. First, make certain that the DVD receiver
is properly connec ted to the screen, and that
power is connected. For this process, how ever,
you do not need to load a disc into the unit.
The Set Up of the receiver can be called at any
time, even during STOP, PAUSE or PLAY mode.
Now press the DVD Source Selector
0
to put
the system in DVD receiver mode, followed by
pressing the Set Up Button
8
. This will access
the Set Up Menu of the DVD receiver.
The Set Up Menu of the DVD receiver and all
menus in the following section may look differ-
ent, listing the settings with different languages,
depending on the settings made previously. With
the factory default setting all languages are set
to ”English”, that´s why with all menus the
English version is shown in the manual.
In the SET-UP Menu you will find submenus for
making or changing all settings and adjustments
for both Audio and Video handling of your
Digital Lounge system.
Press ENTER
6
to activate the SYSTEM
Settings.
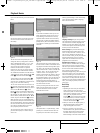
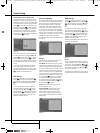
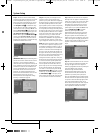
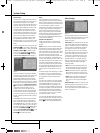
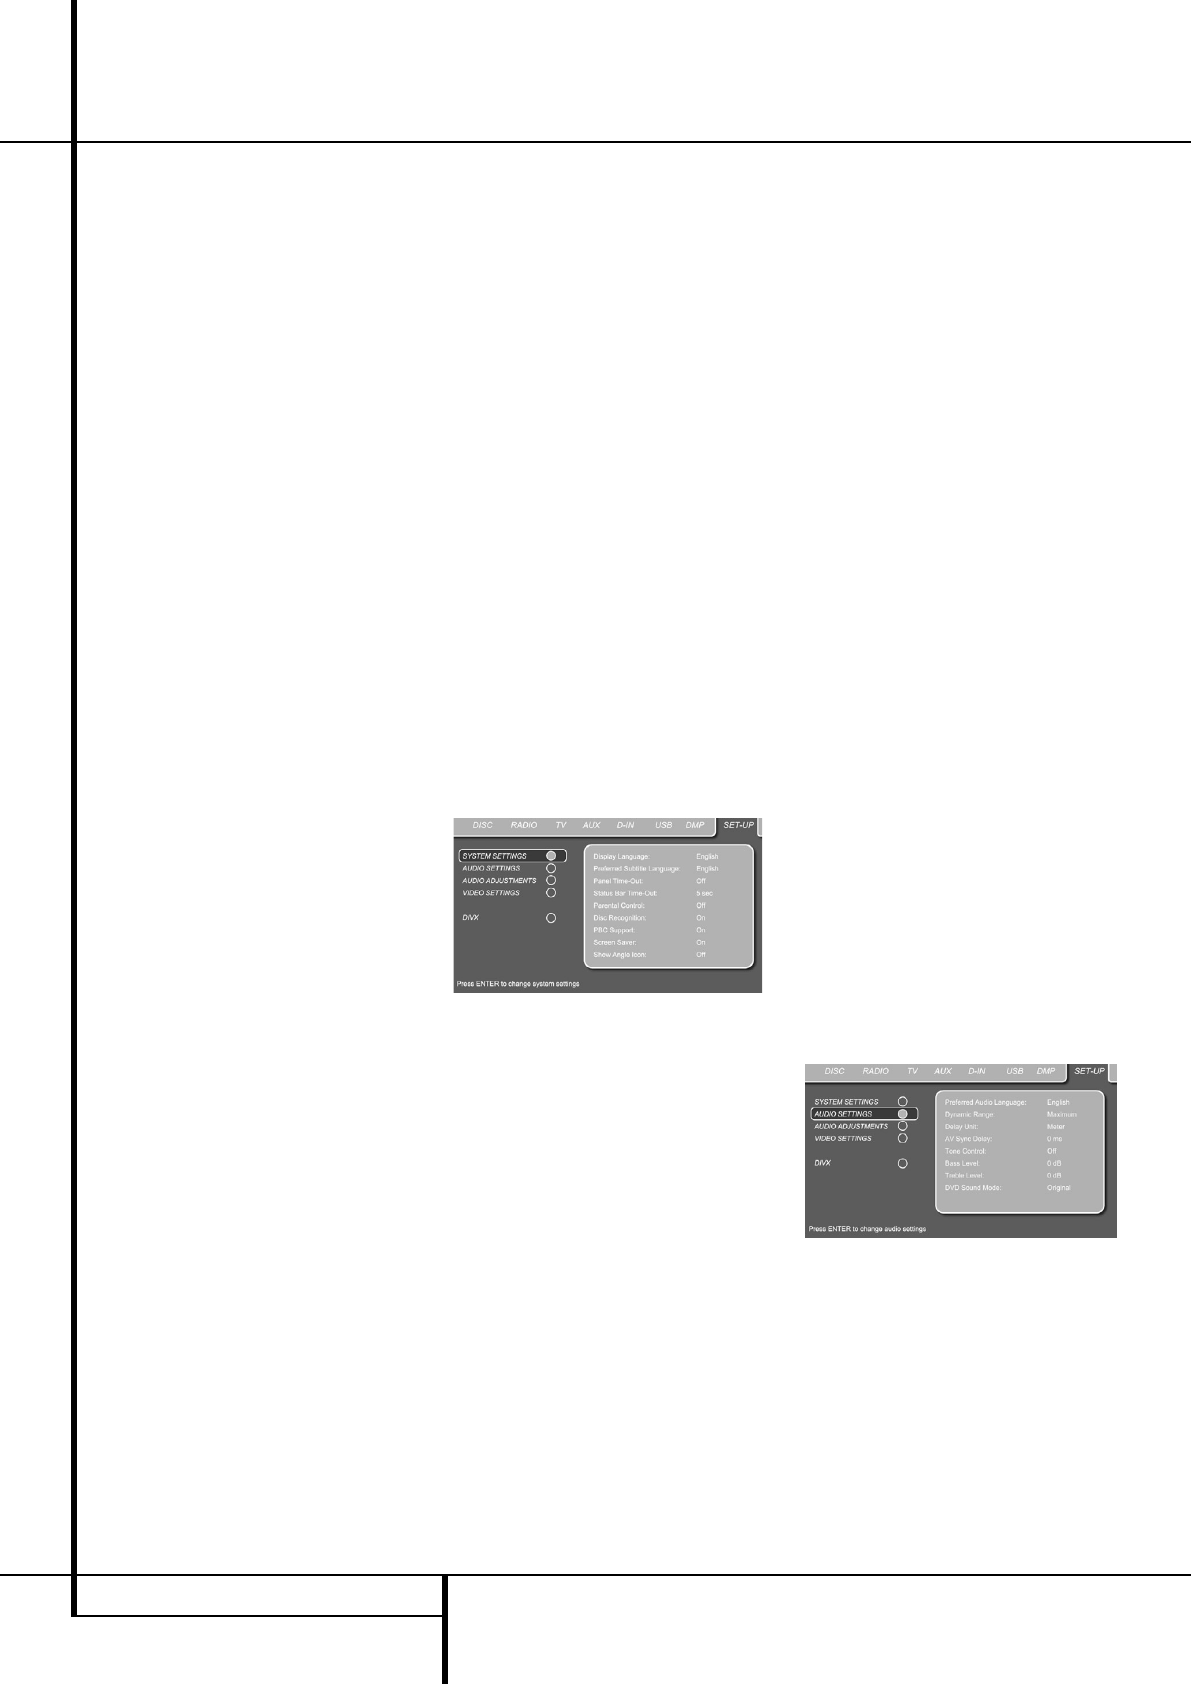
System Settings
Figure 3e
The System Setting Submenu contains the
following settings. Follow the explanations in the
Upper Menu Line on the bottom of your screen
to change the settings.
Display Language: Sets the language in which
the OSD menus are shown on your screen.
Preferred Subtitle Language: Defines your
preferred subtitle language. Every time a disc
contains this subtitle language, it will be shown
auto matic ally. If you do not find your preferred
language in the list of options, you can select
your preferred language by selecting OTHER, and
then typing a 4-digit code found in the code list
on page 46. You can also set the preferred subti-
tle language to OFF. In that case no subtitles will
be shown.
Panel Time-Out: Sets the time-out interval for
the Front Panel Information Display. After the
selected time, the display will dim completely.
Status Bar Time-Out: Sets the time-out inter-
val for the Status Bar, after which the Status Bar
will disappear from the screen.
Parental Control: Defines a password used to
control viewing of restricted programs. The
default password is 8888. After pressing the
default password, either the parental control set-
ting can be chosen, or a new password. The five
standard US rating symbols are ”G” (General,
level 1), ”PG” (Parental Guidance, level 3),
”PG13” (Parental Guidance and 13 years old,
level 4), ”R” (Restricted, level 6) and ”NC 17”
(from 17 years old, level 7). The DVD will accom-
mo date a total of eight rating steps, as set by the
DVD creators. These additional steps allow for
more critical control of program playback for all
audiences. Level 8: All DVDs can be played.
Levels 7 to 2: DVDs for general audiences/
children can be played. Level 1: DVDs for children
can be played; DVDs for adults/general audiences
are prohibited. Follow the explanations on the
screen to set a new password.
Disc Recognition: When set to on, the next
time a disc is inserted, the screen will show a
“Disc Recognized” message, with the question if
you would like to play the disc from the begin-
ning or would like to resume from where you last
stopped the disc. The memory can contain infor-
mation of the last 100 discs played.
PBC Support: Activates PBC (Play Back Control)
Support for VCD discs.
Screen Saver: Activates a Screen Saver to pre-
vent image “burn” in your screen, we recom-
mend you activate the screen saver at all times.
Show Angle Icon: Determines whether the
Angle Icon will appear on the screen when there
are different angles available on a DVD disc.
Once all System Settings have been set to your
personal taste, move the cursor to the left until
AUDIO SETTINGS is highlighted. Press ENTER
6
to access the Audio Settings Menu.
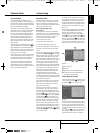
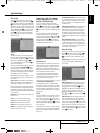
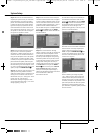
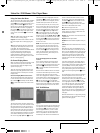
Audio Settings
Figure 4
The Audio Setting Submenu contains the
following settings. Follow the explanations in the
Upper Menu Line on the bottom of your screen
to change the settings.
Preferred Audio Language: Defines your
preferred audio language. Every time a disc is
played that contains this audio language, it will
be activated automatically. If you do not find
your preferred language in the list of options, you
can select your preferred language by selecting
OTHER, and than typing a 4-digit code found in
the code list on page 46.
30 SYSTEM SETUP
System Setup
0007CSK - DigitalLounge 632_640_646 ENG v11.qxp:0007CSK - DigitalLounge 632,640,646 UK 12/06/08 11:10 Side 30 (Sort/Black plade