


SYSTEM SETUP 29
ENGLISH
System Setup
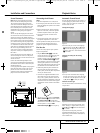
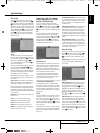
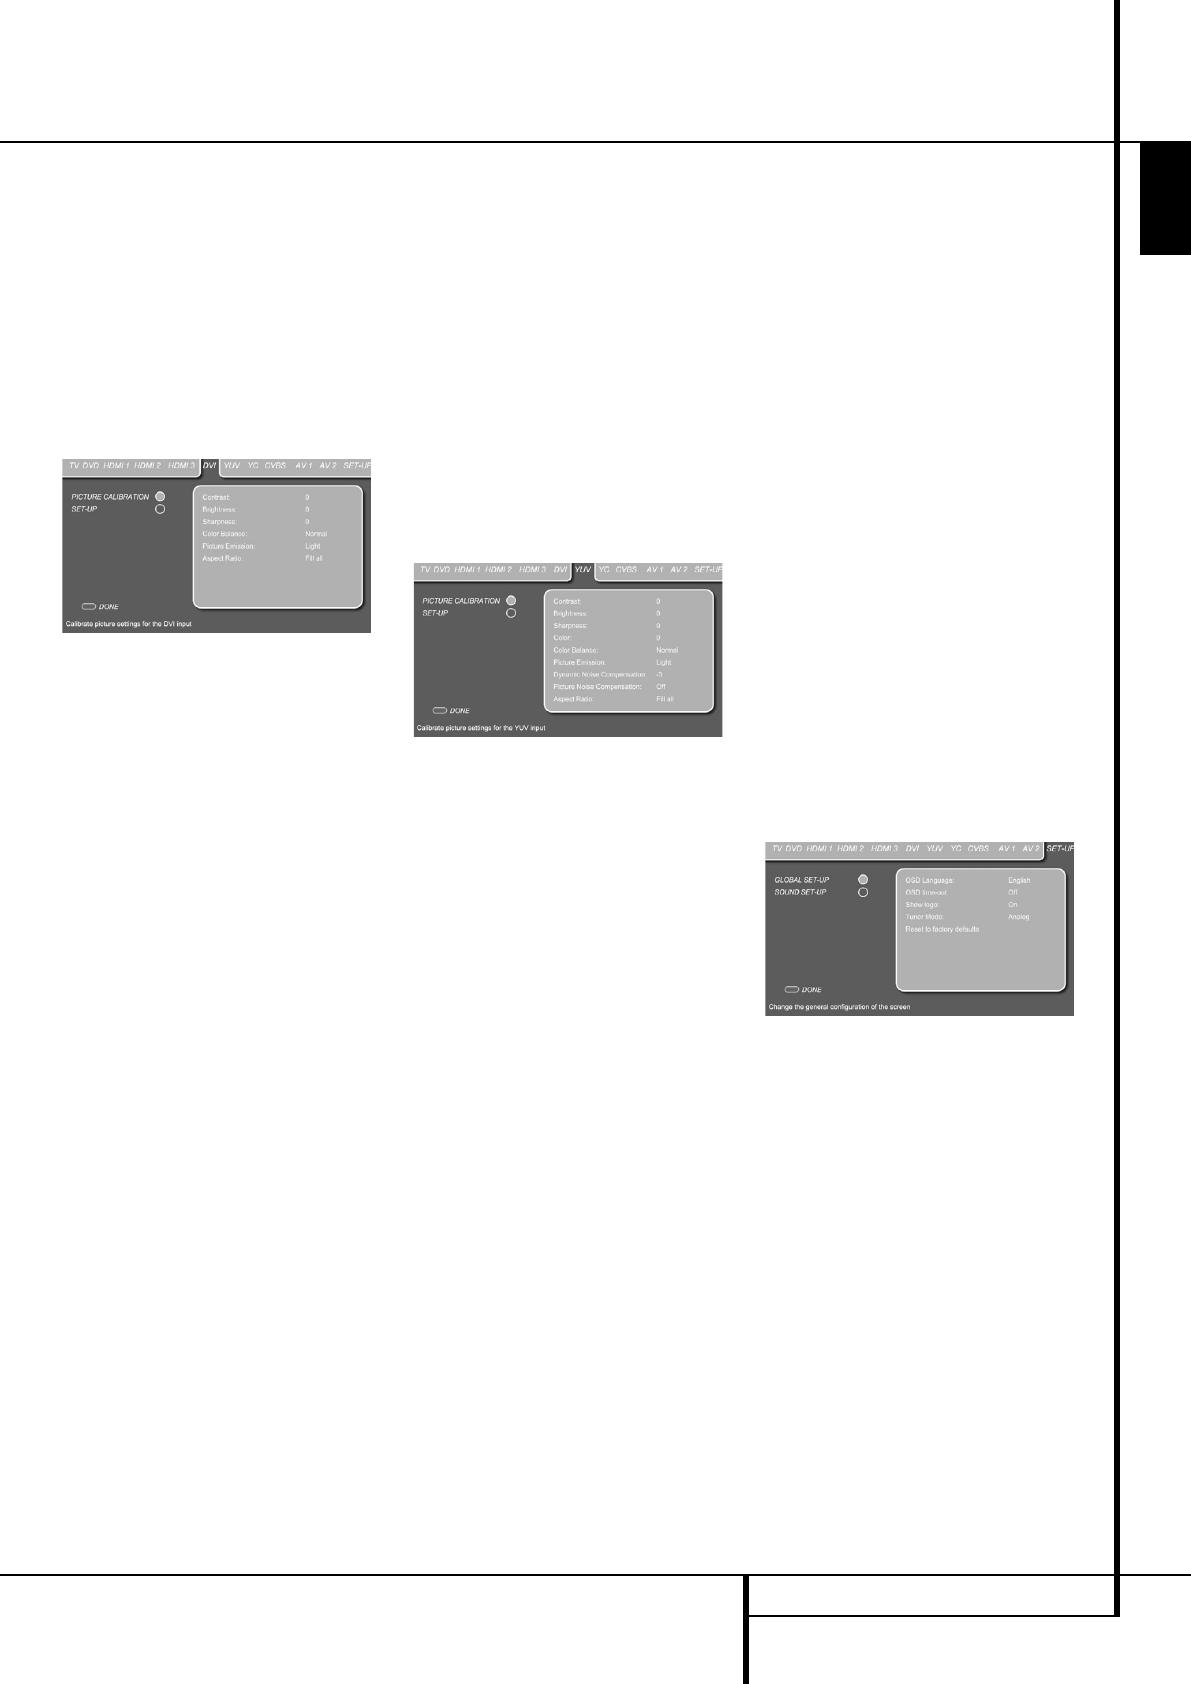
DVI Set Up
To access the DVI Set Up Menu, press the TV
Button
0
followed by the Set Up Button
8
.
Move the cursor to the right using the
N
Button
9
until the DVI tab is highlighted in dark blue.
The DVI Set Up Menu contains 2 submenus. Each
submenu can be selected by moving the blue bar
with the
KL
Buttons
9
until the requested
submenu is highlighted and pressing the Enter
Button
6
to confirm. The selected submenu
will be marked by a light blue circle behind the
submenu text line.
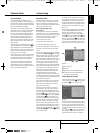
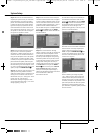
Figure 3b
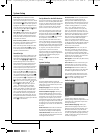
Set Up
The second submenu in the DVI Set Up menu is
the Set Up Menu. With the DVI Set Up Menu on
the screen, press the
L
Button
9
until the Set
Up text line is highlighted. Press Enter
6
to
select, followed by pressing the
N
Button
9
to
access the Set Up Menu.
The Set-Up menu appearing depends on the DVI
source selected by the PC button
0
. When
the digital DVI-input "PC(DVI)" is selected the
same Film Mode, Overscan and Interlaced Mode
settings are available as previously described in
the DVD Set Up section on page 28.
When the analog DVI-input "PC(RGB)" is select-
ed the following menu items will appear on the
Set-Up menu:
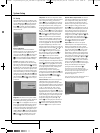
Auto Setup: When this option is selected and
ENTER is pressed, the screen will optimize its set-
tings to the PC graphics card automatically.
All other settings below can be made manually,
but normally the datas automatically found will
be optimal, only varying the phase sometimes
may avoid the small noise/flicker effect appearing
in fine structures.
H Total: Will vary the width of the complete pic-
ture on screen.
V Pos: This will shift the picture vertically.
V Size: Will vary the height of the picture.
H Pos: Will shift the picture horizontally.
H Size: Will vary the horizontal picture size.
Phase: Will vary the phase of the video signal
refering to the pixels on screen.
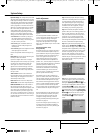
Component (YUV), YC (S-Video),
CVBS (Composite), AV 1 (SCART)
and AV 2 (SCART) Set Up
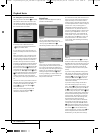
To access any of the Component, S-Video,
Composite or Scart Set Up Menus, press the TV
Button
0
followed by the Set Up Button
8
.
Move the cursor to the right using the
N
Button
9
until the requested tab is highlighted in dark
blue.
The Set Up Menus of all above inputs contain 2
submenus. Each submenu can be selected by
moving the blue bar with the
KL
Buttons
9
until the requested submenu is highlighted and
pressing the Enter Button
6
to confirm. The
selected submenu will be marked by a light blue
circle behind the submenu text line.
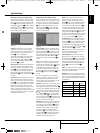
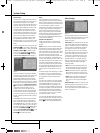
Figure 3c
Important Notes:
• The Film Mode will be effective only with Scan
Mode Interlaced, i.e. not via Component or DVI
inputs when in Progressive mode. In case of the
Digital Lounge system connected through the
HDMi input, the Film Mode setting should remain
OFF whatever video resolution chosen.
• The Film Mode can be turned on/off directly,
also without the OSD opened, by pressing the
STATUS button with the remote in TV mode (as
long as the Teletext is not activated).
Exclusively for all analog inputs there is a setting
for Picture Noise Compensation.
This should be used only for Still Pictures like
JPEGs. When turned on, this feature will compen-
sate the low noise that may be contained in the
pictures. Note that simultanously the setting for
the "Dynamic Noise Compensation" will change
appropriately.
Set Up
The second submenu in the component, S-Video,
composite or Scart Set Up menus is the Set Up
Menu. With any of these Set Up Menus on the
screen, press the
L
Button
9
until the Set Up
text line is highlighted. Press Enter
6
to select,
followed by pressing the
N
Button
9
to access
the Set Up Menu.
Exclusively for the SCART (AV 1 and AV 2) inputs
of the TV there are the following setting options
important for the proper working of each SCART
input in use:
Scart Device Detection: This function must be
On, if automatic switching-over to the correspon-
ding SCART input is to take place when an active
device is connected to the appropriate SCART1
or SCART2 input.
Video Input Selection: With this setting the TV
can be forced to show only the Composite or
RGB video signal on the SCART 1 input respec-
tively only the Composite or S-Video signal on
the SCART 2 input. The input signal on SCART 1
is automatically detected and the TV will switch
to RGB mode automatically when such a signal is
present.
Aspect Ratio Detection: This setting selects
the signal for the format detection (4:3 or 16:9)
on the SCART inputs and will be effective only
with the Aspect Ratio set to "Auto Zoom" mode
(in the Picture Calibration menu). Three options
are available for the selection:
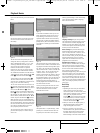
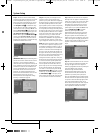
General Set Up
To access the General Set Up Menu, press the TV
Button
0
followed by the Set Up Button
8
.
Move the cursor to the left using the
M
Button
9
that the Set Up tab is highlighted in dark
blue.
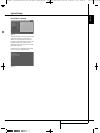
Global Setup: In the (General) Setup menu, you
can select two sub-menus, Global Setup and
Sound Setup.
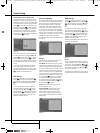
Figure 3d
OSD Language: Sets the language in which all
set up menus related to the screen will be pre-
sented. Should you wish to change the OSD
Language, press the Enter Button
6
once it is
highlighted. The blue bar will disappear and the
rest of the settings will fade out. Select the
requested language from the list by pressing the
N
or
M
Buttons
9
. Press the Enter Button
6
to confirm.
OSD Time Out: Sets the amount of time it will
take to automatically switch off the different
menus. Should you wish to change the Time Out
timing, press the Enter Button
6
once the OSD
Time Out line is highlighted. The blue bar will dis-
appear and the rest of the settings will fade out.
Select the requested time interval from the list by
pressing the
N
or
M
Buttons
9
. Press the Enter
Button
6
to confirm.
0007CSK - DigitalLounge 632_640_646 ENG v11.qxp:0007CSK - DigitalLounge 632,640,646 UK 12/06/08 11:10 Side 29 (Sort/Black plade