


INSTALLATION AND CONNECTIONS 21
ENGLISH
Installation and Connections Playback Basics
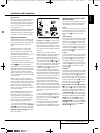
Screen Placement
Note: Please use the supplied pair of gloves
found in the Tool Kit when placing the screen.
This will prevent the high gloss finish of the
screen to be scratched or damaged. The screen
comes delivered with an integrated stand, that
has a dedicated place for the system's center
loudspeaker. Place the screen and the stand on a
surface that is strong enough to support its
weight.
You can also opt for hanging the screen on the
wall. Note that the screen should be mounted on
vertical walls only that are capable of bearing
three times the weight of the screen (see page 50
for the weight of your screen). We recommend
you to do the mounting with two people. Before
installing the screen on the wall, make sure that
it is switched off and that the mains cable and
signal cables are unplugged. Protect the front of
the screen using the cloth bag and turn the
screen so that its front is pointing downwards
and place it carefully on a completely flat and
firm surface.
Loosen and remove the 8 screws (M4x5) in the
stand. Please keep the screws in a safe place in
case you would like to re-install the screen on the
stand in the future.
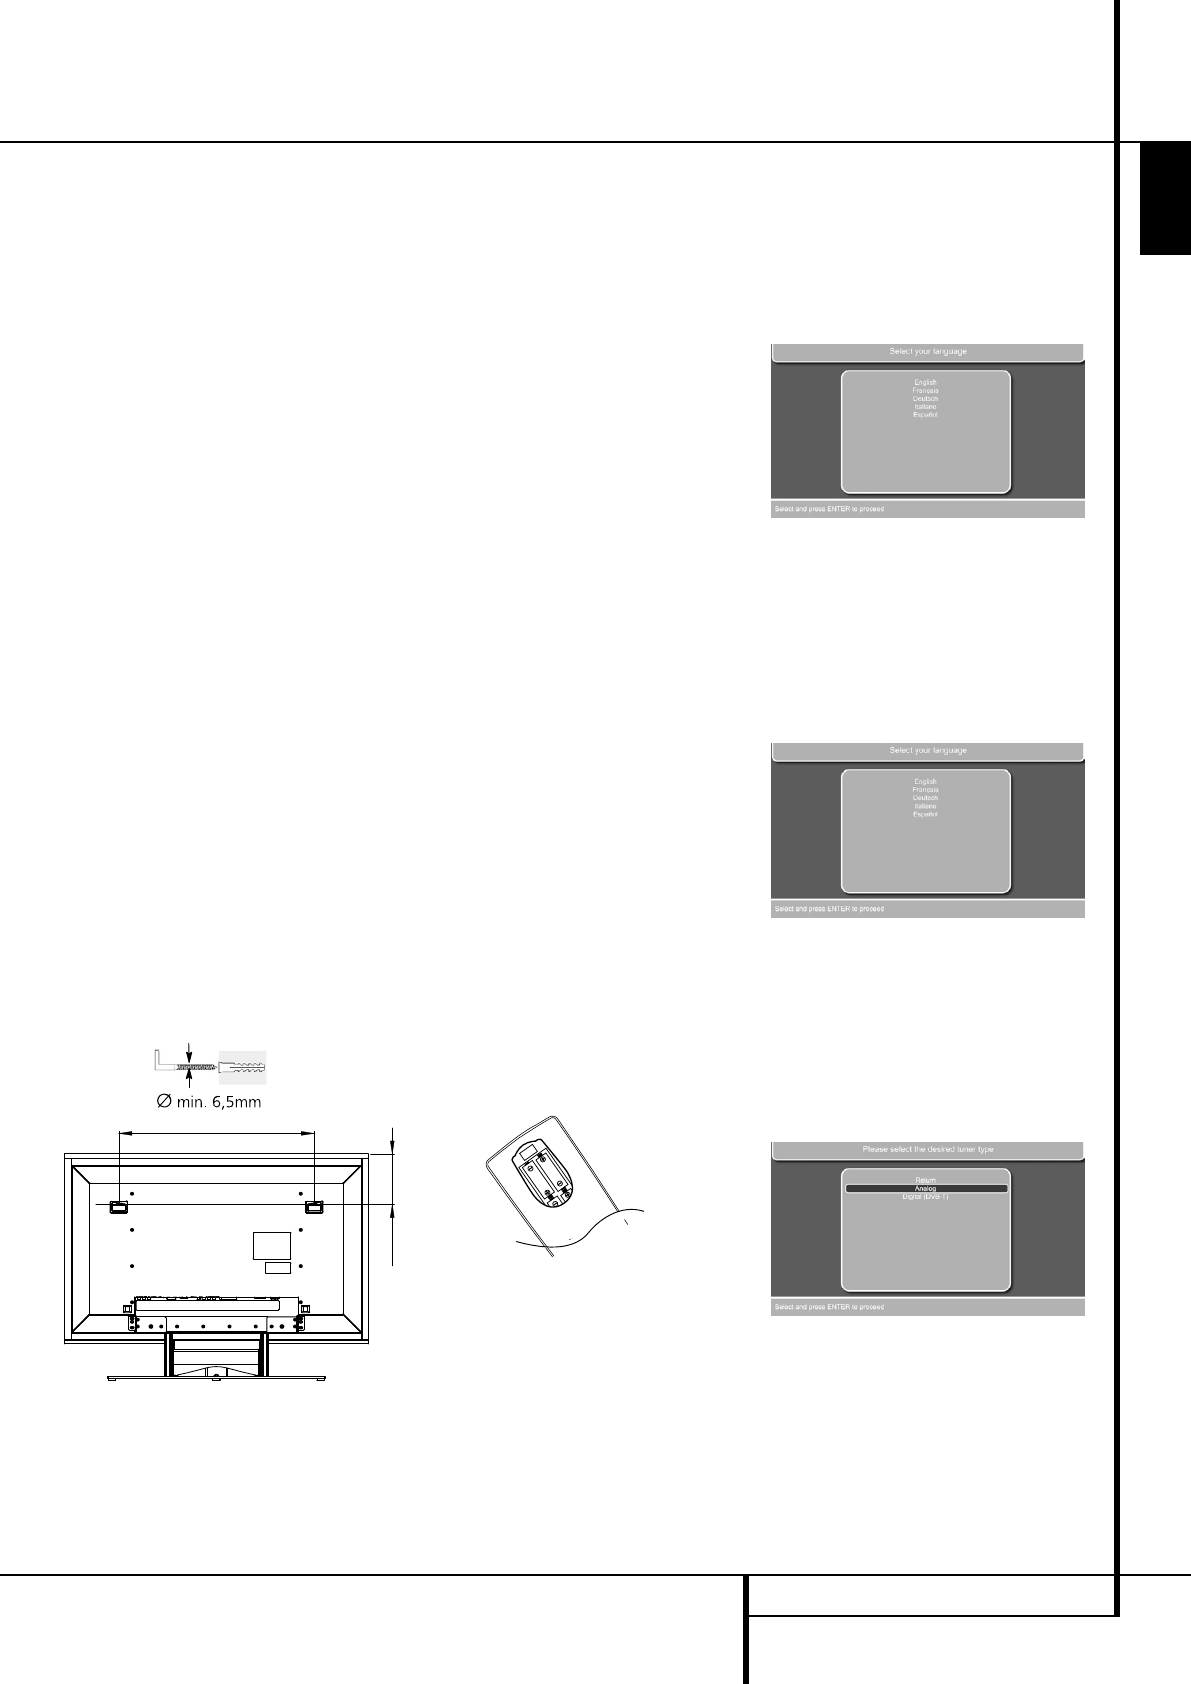
Look at the attached drilling template in the
accessory pack to determine the appropriate dis-
tance between the two holes in the wall for your
individual display size.
Fit two plugs and hooks capable of carrying three
times the weight of the screen in the wall and
position the screen so that the hooks can be
introduced into the openings provided for this
purpose on the rear side of the screen.
Connecting the AC Power
Notes
• The Power Requirement is: AC 230V, 50 Hz.
• Connecting to power other than the one listed
above may damage the system or cause abnor-
mal operation.
• Before connecting the AC power cord of this
system to a wall outlet, connect the speakers
and other component cables to the system.
• Connect the AC power cord of the active
subwoofer.
• Connect the AC power cords of your TV and
any optional components to a wall outlet.
Once the speakers have been placed in the room
and connected, the remaining steps are to
program the system configuration memories.
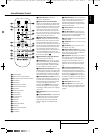
First Turn On
You are now ready to power up the system to
begin final adjustments.
1. Plug the Power Cable
4Q
of the DVD
receiver and TV into an un switched AC outlet.
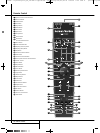
Press the Power On Switch
G
to the "I"
position to switch on the TV to Standby mode.
Note that the Power Indicator
1
and the
Power Indicator on the screen will turn orange,
indicating that system unit is in the Standby
mode. At the same time, plug the power cord of
the subwoofer into an unswitched AC outlet.
2. Remove the protective plastic film from the
main front-panel lens of the DVD receiver.
If left in place, the film may affect the perform-
ance of your remote control.
3. Install the four supplied AAA batteries in the
main remote as shown. Be certain to follow
the (+) and (–) polarity indicators that are on
the top of the battery compartment. Follow the
same instructions to install the three supplied
AAA batteries into the smaller second remote
control.
4. Turn the system on by pressing the TV Input
Source Selector
0
on the remote control.
The Power Indicator
1
and the Power
Indicator of the screen will turn blue to confirm
that the system is on, and the Main
Information Display
0
will also light up.
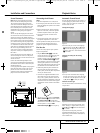
Automatic Channel Search
The first step after switching on your system is to
set the language you prefer and the country you
reside in. Once that is done, the automatic TV
channel search will start.
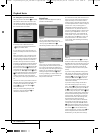
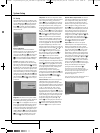
Setting the language
Figure 1a
• The first screen you will see is the Language
Selection screen. Use the [
L
] or [
K
] Buttons
9
to select the language you prefer to see
the menu's of the TV in. Press the Enter Button
6
to confirm.
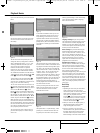
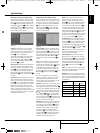
Selection of country for the sorting
sequence
Figure 1b
• Once you have selected the menu language,
the next screen allows you to select the country
in which the TV will be operated. Use the [
L
]
or [
K
] Buttons
9
to select your country.
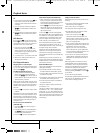
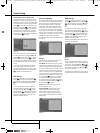
Selection of tuner type
You will now be asked to choose between analog
or digital tuner.
Figure 1c
Depending on your choice of tuner type, select
either "Analog" or "Digital (DVB-T)" by using
the
L
/
K
Buttons
9
. Press the Enter Button
6
to confirm.
If you select the analog tuner, proceed as
described immediately below. If you select the
digital tuner, go to the DIGITAL TUNER (DVB-T)
section further down.
0007CSK - DigitalLounge 632_640_646 ENG v11.qxp:0007CSK - DigitalLounge 632,640,646 UK 12/06/08 11:10 Side 21 (Sort/Black plade