


SYSTEM CONFIGURATION 25
ENGLISH
System Configuration
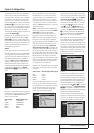
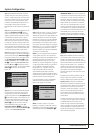
You may edit a title by inserting or deleting char-
acters. To insert a new character between two
existing characters, move the cursor to highlight
the character to the right of the insertion point-
ing the bar at the top of the screen.Then high-
light the
INSindicator on screen and press the
Set Button
F
.You may now select a charac-
ter to insert in the new space. Delete a character
by moving the cursor to highlight the unwanted
character in the bar at the top of the screen.
Then highlight the
DELindicator on screen and
press the Set Button
F
.
When you have finished entering the new title,
highlight the
OKindicator and press the Set
Button
F
to return to the Input Setup menu.
Although the Source Input name will remain the
same in the Input Setup menu, the new title will
appear in the semi-OSD displays and the front-
panel display as appropriate.
NOTES:
• Only upper case letters are available for titles.
• Normally both the source input and the digital
(or analog) audio input selection appear on the
upper line of the semi-OSD and front-panel dis-
plays. When The Bridge source is selected, its
status as
CONNECTED or UNPLUGGED
appears in place of the audio input selection.
However, when a source input is retitled, the
audio input selection (or status of The Bridge) no
longer appear unless you press the Digital
Input Selector
G
Û
on the remote or front
panel.
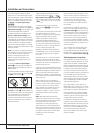
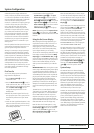
Figure 5
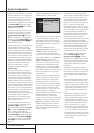
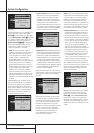
The Video In setting reflects the video input that
is assigned to the source. The default assignment
for all sources is
COMPOSITE except as
shown in the below table:
Source Input Default Video Input
DVD COMPONENT 1
VIDEO 1 COMPONENT 2
VIDEO 2 COMPONENT 3
HDMI 1 HDMI 1
HDMI 2 HDMI 2
We recommend that you leave the setting for
the HDMI sources as is. For the other sources,
change this setting in the
VideoInline to
reflect use of the Component 1, 2 or 3 Video
Input as appropriate. If you used the composite
or S-video input for any source, make sure this
setting is
COMPOSITE. (There is no separate
selection for S-Video.)
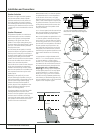
NOTE: If your video display has an HDMI input,
then you only need to connect the AVR’s HDMI
Output
X
to the display. The AVR 347
transcodes analog source video signals from
composite, S-video or component video to the
HDMI format, and is also capable of upscaling
the signal to match your display’s capabilities.
If your display does not have an HDMI input, but
does have component video inputs, again you
only need to connect the AVR’s Component
Video Monitor Outputs
K
to the display. The
AVR 347 transcodes composite and S-video sig-
nals to the component video format. Similarly, if
your display’s best-quality video input is S-video,
you do not need to connect the Composite Video
Monitor Output to the display; any composite
video source signals will be converted to S-video
format, and S-video signals may be converted to
composite video format if your video display is
not equipped with an S-video input.
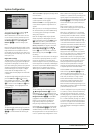
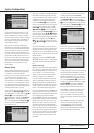
By default, the analog audio inputs are assigned
at the factory to all sources, with the following
exceptions:
Source Input Default Digital Audio Input
DVD Coax 1
Video 2 Optical 1
HDMI1 Coax 2
HDMI2 Optical 2
If you used a digital audio connection for anoth-
er source, you will need to change this setting
on the
AudioInline of the menu to assign
the correct digital audio input to the source,
even if you also connected the analog audio
outputs of the source to the receiver.
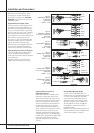
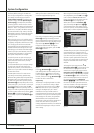
Figure 6
To associate an analog or digital input with the
input source currently selected at any time using
the discrete function buttons, press the Digital
Input Select Button
Û
G
on the front
panel or the remote while the full-OSD is not in
use. Within five seconds, make your input selec-
tion using the Selector buttons on the front
panel
7
or the
⁄
/
¤
D
Buttons on the
remote until the desired digital or analog input
is shown in the Main Information Display
Ò
and in the lower third of the video display
connected to the AVR. Press the Set Button
F
to enter the new input assignment.
Some digital video input sources, such as a cable
box or HDTV set-top may change between ana-
log and digital outputs, depending on which
channel is in use. The AVR’s Auto Polling feature
allows you to avoid losing the audio feed when
this happens by permitting both analog and dig-
ital connections to the same source on the AVR.
Digital audio is the default, and the unit will
automatically switch to the analog audio if the
digital audio stream stops.
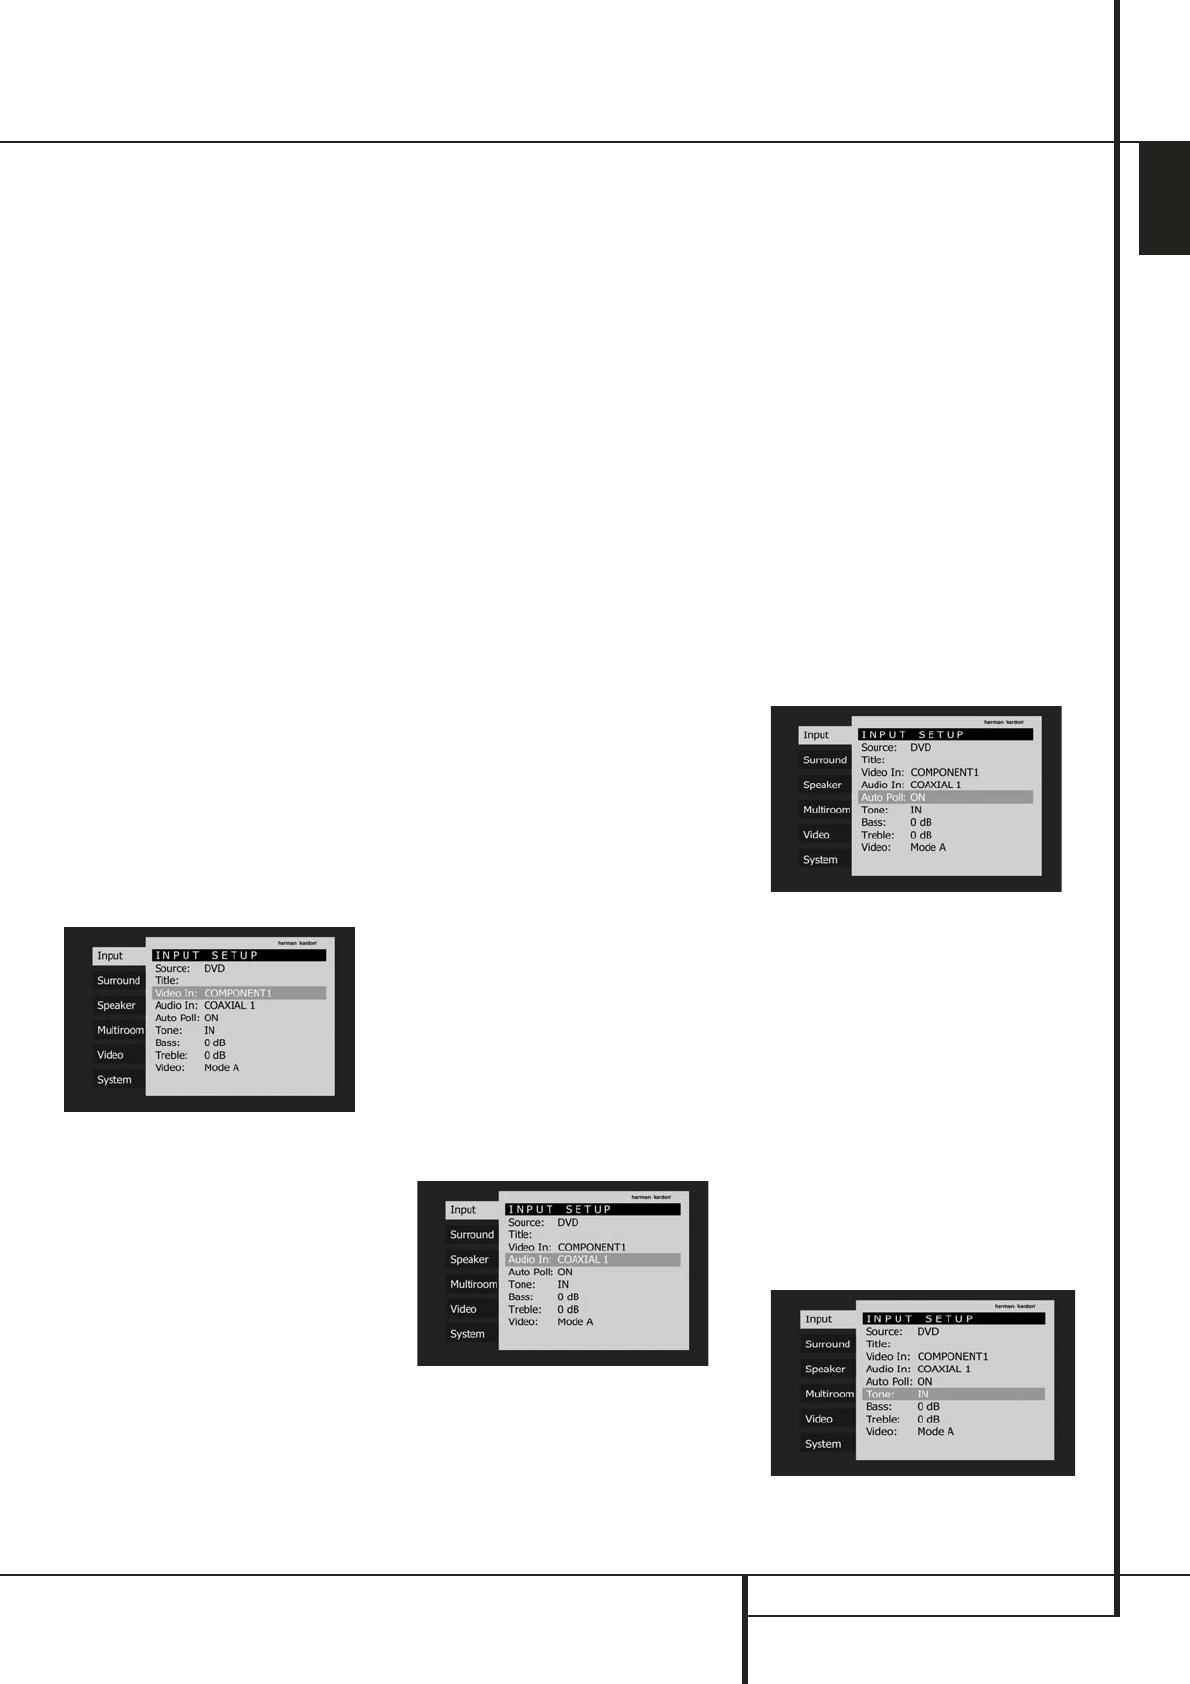
Figure 7
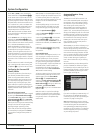
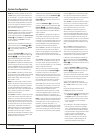
In cases where only a digital source is used, you
may wish to disable the Auto Polling feature to
prevent the AVR from trying to “find” an analog
source when the digital source is paused.To turn
Auto Polling off for any input, first make certain
that the
AutoPollline is highlighted in
blue, and press the Set Button
F
on the menu
screen. Next, press the
‹
/
›
Navigation Button
Ea
so that OFFis highlighted in blue text.
Repeat the procedure at any time by highlighting
ONto restore the Auto Polling feature.
The remaining lines in the Input Setup menu
allows you to configure the tone controls. If you
do not wish to change any of those settings at
this time, proceed to the next menu screen.
Figure 8