


32
SYSTEM SET UP
This chapter describes the advanced settings that you can
access from your Audio Server’s Set Up menu.
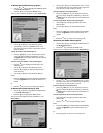
To access the Set Up menu:
Press the
J
Menu key on your remote control to
display the Function Menu.
Use the
U
and
V
keys to highlight the Set Up
option.
Press the
O
Select key.
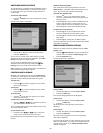
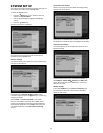
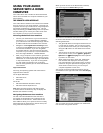
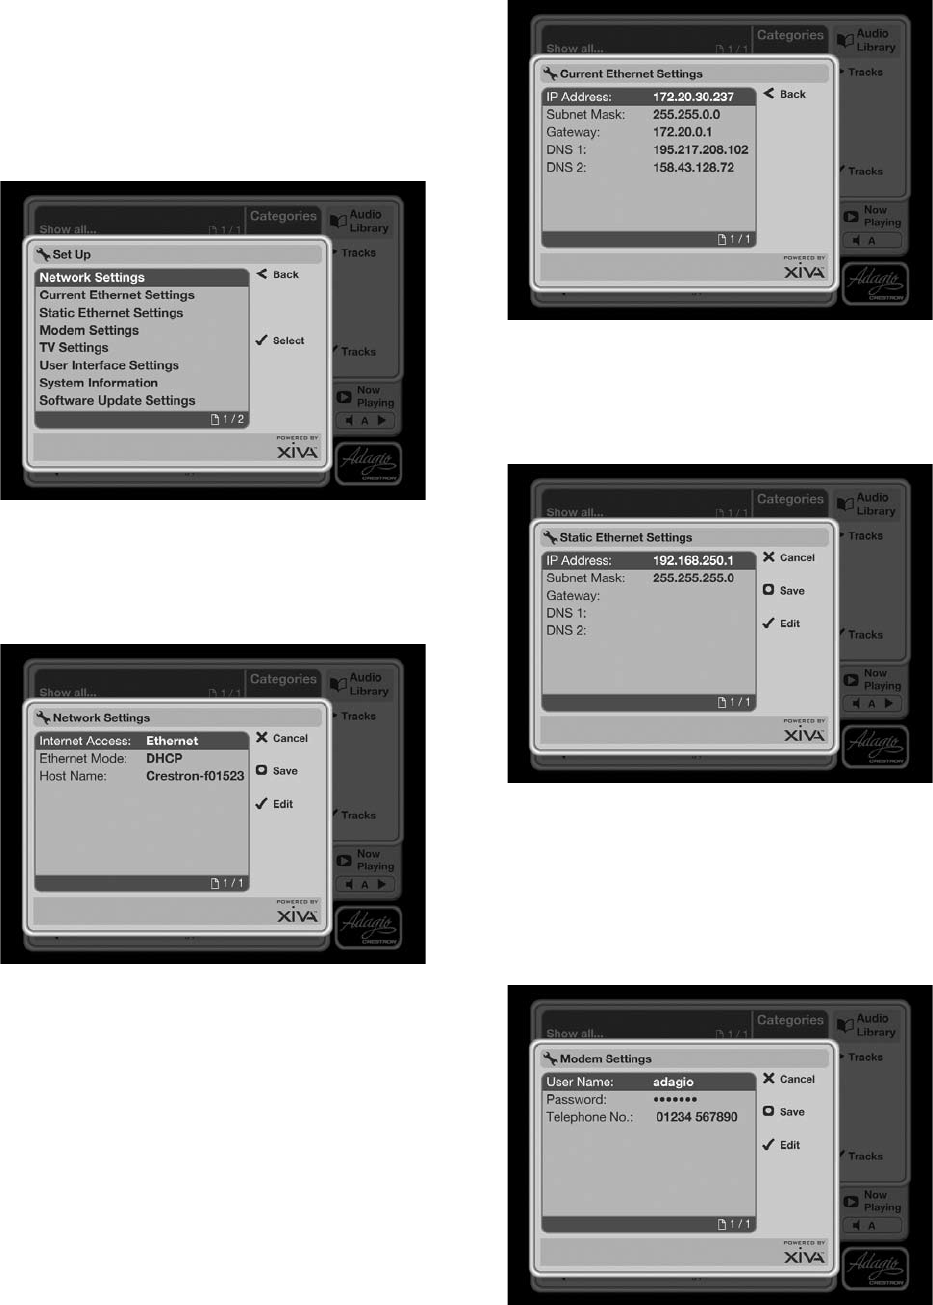
The following screen is displayed:
The following sections describe each of the options
available from the Set Up menu.
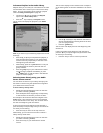
Network Settings
This section allows you to specify how your Audio Server
connects to the Internet.
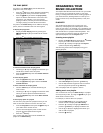
Choose between Ethernet, Modem or None as the
connection type and press the
M
Save key to commit any
changes you make.
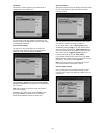
Specify DHCP as the Ethernet Mode if your Audio
Server is connected to a network with a DHCP server
present, and the Ethernet settings should be assigned
automatically. Otherwise, choose Static and enter your
own Ethernet details in the Static Ethernet Settings
section.
•
•
•
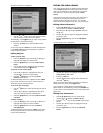
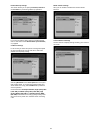
Current Ethernet Settings
Allows you to view the current Ethernet settings being
used by your Audio Server.
This menu is not editable and is used for reference only.
See below for instructions about changing these settings.
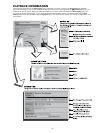
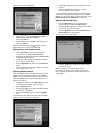
Static Ethernet Settings
This section allows you to congure the Audio Server’s
Ethernet settings.
Use this section to enter your own Ethernet details in
the IP Address, Subnet Mask, Gateway and DNS elds.
Again, be sure to press the
M
Save key to commit any
changes you make.
Modem Settings
If you select Modem as your Internet Connection type
you must then input your Internet Service Provider’s
details on this screen.