5–22 Maintenance and Service Guide
Removal and Replacement Procedures
5.11 Processor
Ä
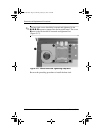
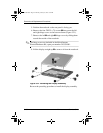
CAUTION: Before removing the processor, make special note of
the orientation of the printing on the processor. The gold triangle
should be in the upper right corner when installing the processor.
The processor must be installed in the same orientation in which
it was removed.
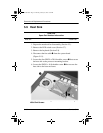
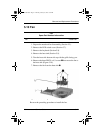
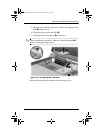
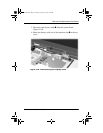
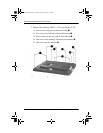
1. Prepare the notebook for disassembly (Section 5.3).
2. Remove the LED switch cover (Section 5.7).
3. Remove the keyboard (Section 5.8).
4. Remove the heat sink (Section 5.9).
Processor
Spare Part Number Information
Intel Pentium 4 3.06 GHz (for use only with models with
config. code LLN2)
Intel Pentium 4 2.80 GHz (for use only with models with
config. code LLN3 and LLN5)
Intel Pentium 4 2.4 GHz (for use only with models with config.
code LF51, LF56, LLN1, LLN3, LLNB, LMR3, LN63,
or LN64)
Intel Pentium 4 2.0 GHz (for use only with models with config.
code LF52, LF55, LLN6, LLN8, LMS1, LMS4, LN67,
or LN68)
Intel Pentium 4 1.8 GHz (for use only with models with config.
codes LF53, LF54, LF57, LLN7, LLNC, LLND, LLNF, LLNG,
LLNH, or LN65)
Intel Celeron 1.8 GHz (for use only with models with
config. code LMS2)
Intel Celeron 1.7 GHz (for use only with models with
config. code LLN9, LMS3, LN61, LN62, or LN66)
316743-001
325826-001
310650-001
310649-001
310648-001
316741-001
320039-001
307503-002.book Page 22 Thursday, January 30, 2003 1:04 PM


