


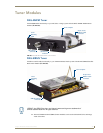
Tuner Modules
46
Tango / Mi-Series Audio Controllers
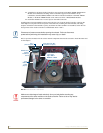
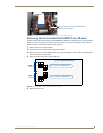
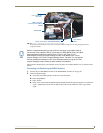
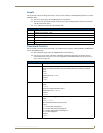
8. Use the supplied cable ties to secure the cable loosely as illustrated in FIG. 71:
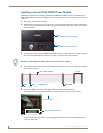
Installing the DAS-SIRIUS Tuner Module
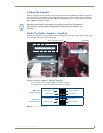
The DAS-SIRIUS Tuner is typically installed into Slot 1 (see FIG. 57):
1. Remove the cover from the Audio Controller chassis.
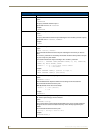
2. Remove the cover plate (labelled “Tuner Option”) on the rear panel (FIG. 65) to expose Slot 1.
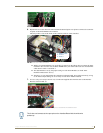
3. Carefully insert the DAS-SIRIUS Tuner Module into the Controller (electronics facing up), and replace
the cover plate screws to secure the Module to the Controller.
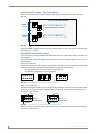
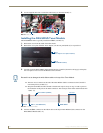
The Rear Panel connector at the end of the Tuner Ribbon Cable is connected to the Controller’s
rear board pin-bus (see FIG. 57).
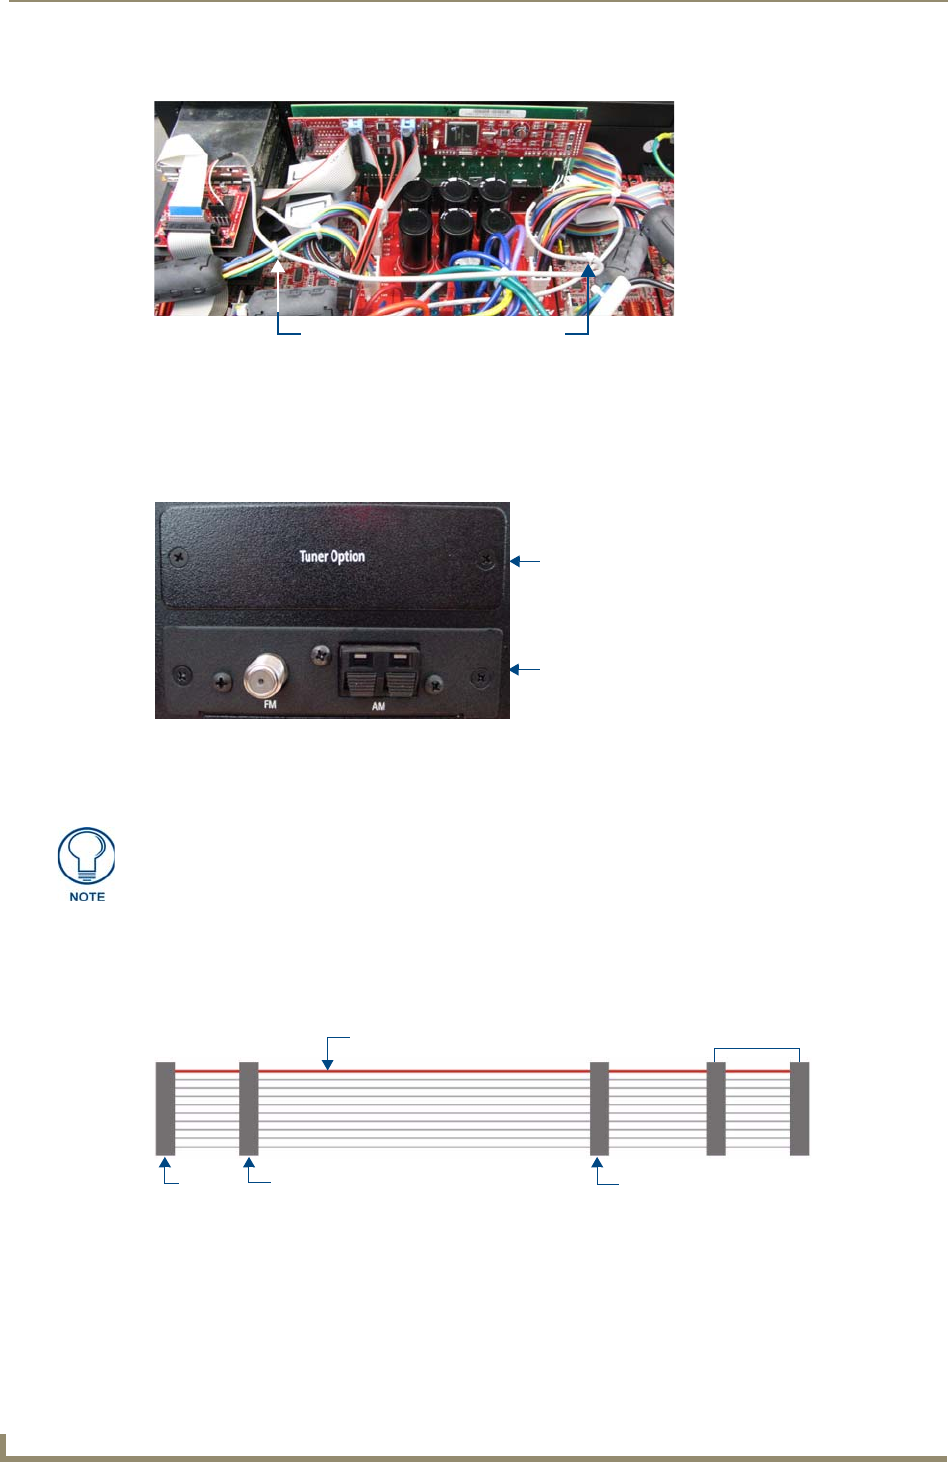
Keep the Tuner Ribbon Cable oriented so that the red stripe is always on top, in order to preserve
the orientation of the pins on the Tuner connectors. The red stripe on the ribbon cable indicates Pin
1 (FIG. 73):
4. Connect the Slot 1 connector on the ribbon cable to the 20-pin Tuner Ribbon Cable connector on the
DAS-SIRIUS Module (FIG. 74).
FIG. 71 Cable Routing
FIG. 72 Rear Panel - Tuner Slots 1 and 2
Cable tie Cable tie
Slot 1
Slot 2
(DAS-AMFM installed)
(Tuner Option cover plate installed)
Be careful not to damage the white ribbon cable on the top of the Tuner Module.
FIG. 73 Tuner Ribbon Cable
Slot 2 Slot 1 Rear Panel
RED STRIPE (to Pin 1)
not used
(see Note below)