


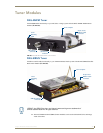
Tuner Modules
47
Tango / Mi-Series Audio Controllers
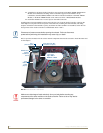
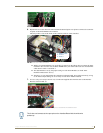
Verify that all of the 20-pin connectors of the Tuner Ribbon Cable are securely plugged into their
respective boards.
The Controller should only be powered back on once all Tuners are installed and the cover is replaced on the
chassis.
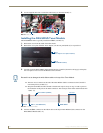
Connecting and Positioning the SIRIUS Antenna
1.
Connect the provided SIRIUS Antenna to the DAS-SIRIUS (see FIG. 56 on page 39).
2. Verify the Signal strength
a. Access the programming menus via the front of the Controller.
b. Select Setup\SIRIUS.
c. Select "Status".
d. Select "SAT" to determine the Satellite Signal Strength. Ensure the signal strength is at a minimum of
"weak". Adjustments may need to be made to the position of the Antenna in order to get a better
signal.
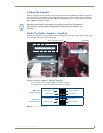
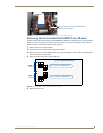
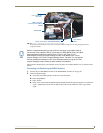
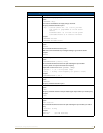
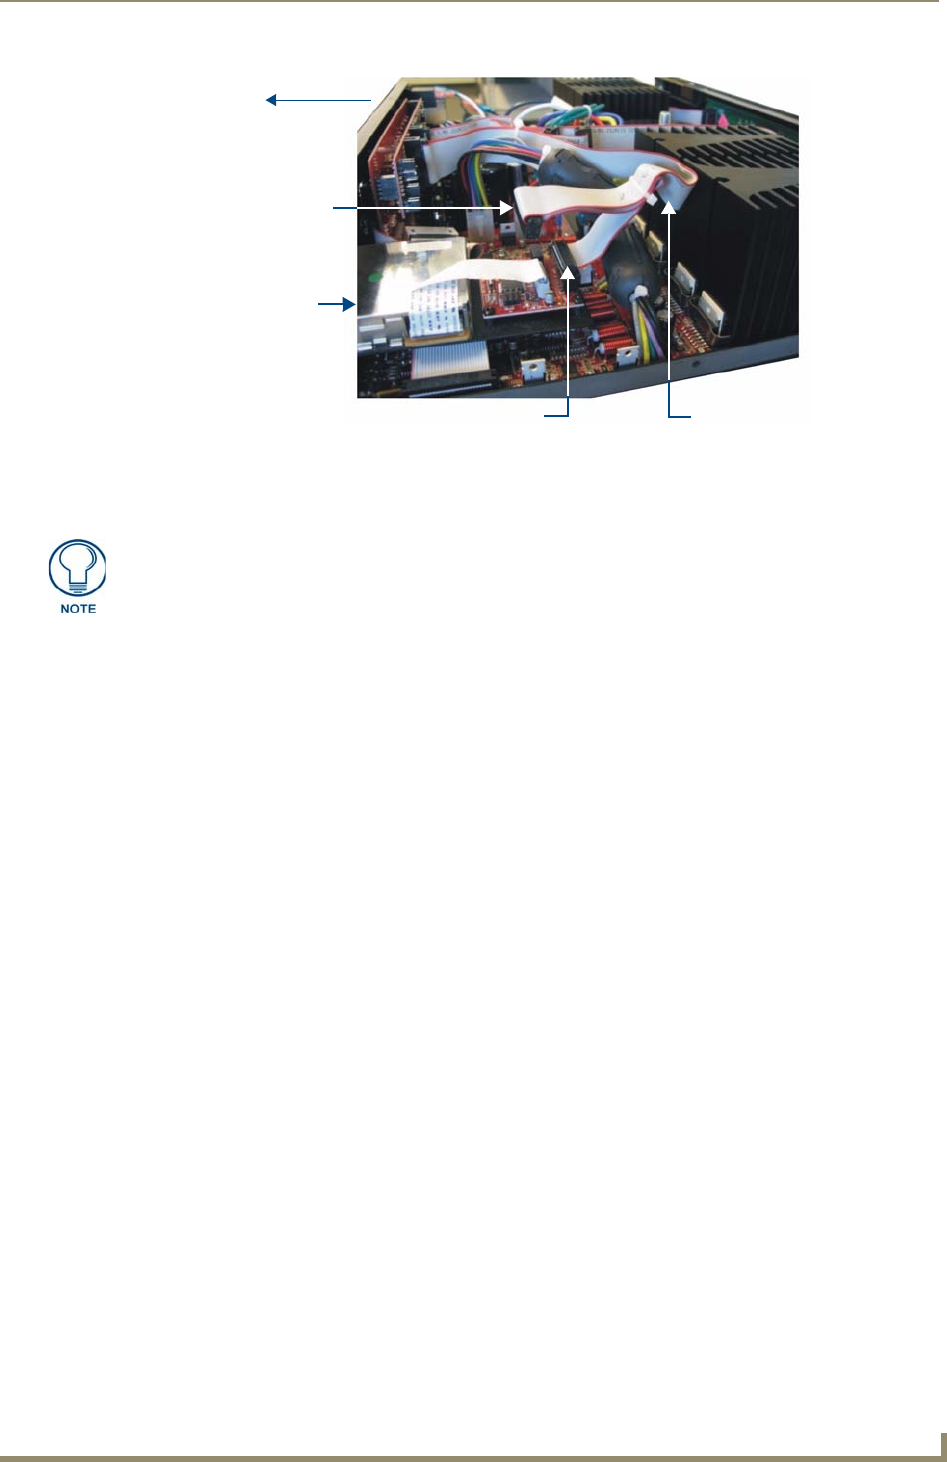
FIG. 74 Tuner 1 / 2 Module Connections (side view of Controller)
rear of Controller
DAS-AMFM
Slot 1 connector
Slot 2 connector
Tuner Ribbon
(side view)
(connect to DAS-SIRIUS
Module)
(shown connected to DAS-AMFM Module)
Cable
While it is recommended that you use the Slot 2 connector on the ribbon cable to
connect the Tuner installed in Slot 2 (in this case, the DAS-AMFM Tuner), the ribbon
cable itself does not determine which Tuner is Tuner 1 and Tuner 2. This
determination is set by the jumper settings on each Tuner Module (see “Tuner 1
Jumper Settings” and “Tuner 2 Jumper Settings” above. Therefore, it is not required
that the connections indicated in FIG. 10 are followed exactly, as long as the Tuner
Jumper Settings are set correctly for each installed Tuner Module.