


3M™ Super Close Projection System SCP712 Operator’s Guide
© 3M 2008. All Rights Reserved. 13
Menu Navigation
To display the on screen menus, press the MENU button on the remote control. Use the remote control
Up/Down ARROW buttons to select the desired menu (see table below), then pull the TRIGGER button (bottom
of remote control) to display it.
Use the remote control ARROW buttons within a submenu to select the various options displayed on the screen,
then pull the TRIGGER button to initiate that option or setting.
To exit an on-screen submenu, press the MENU button.
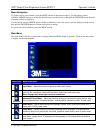
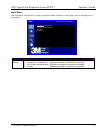
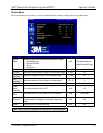
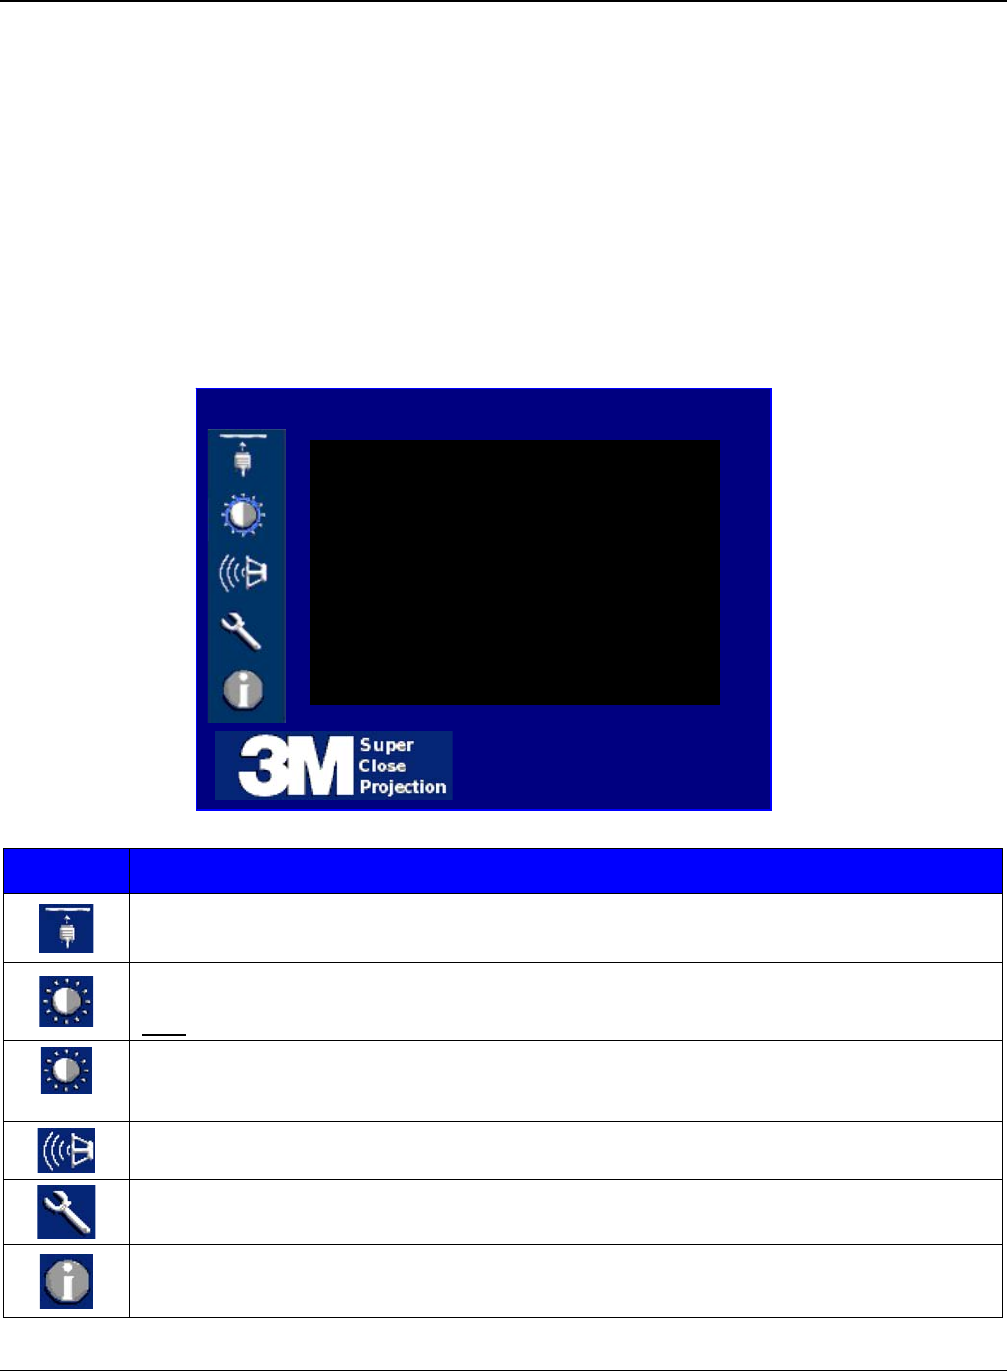
Main Menu
The main menu is the first system menu to display when the MENU button is pressed. Click on the menu icons
to display the desired submenu.
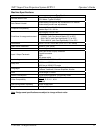
Menu Icon Menu Description
Input Menu – Select the desired computer or video input source.
Picture Menu – Adjust the following picture features: mode, brightness, contrast, color
intensity, tint, sharpness, video noise reduction, aspect ratio, and menu reset.
Note
: Displays only when input source is connected.
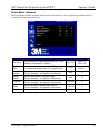
Advanced
Advanced Picture Menu – Adjust the following settings for the detected signal source: over
scan, brightness/color, horizontal position, vertical position, frequency, phase, & menu reset.
Audio Menu – Adjust the following audio settings: volume, mute, audio input (stereo mini-1,
stereo mini-2, RCA), menu reset.
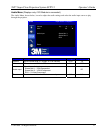
Setup Menu – Select or adjust the following settings: menu languages, auto shutoff timer,
keystone, lamp hours, lamp mode, fan mode, projection mode, factory reset, or menu reset.
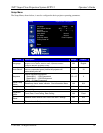
Information Menu – Display the current system information: input resolution, H/V frequency,
lamp hours, system hours, IP address/net mask/gateway for I/O module Ethernet interface,
user revision.
Main Menu