


3M™ Super Close Projection System SCP712 Operator’s Guide
© 3M 2008. All Rights Reserved. 12
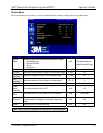
Operating Instructions
Projector Start Up
Read the Important Safeguards before operating the SCP712. After all cable connections have been completed,
the projector can be powered up.
For best results, please observe the following start up sequence.
1. Turn all of the connected equipment on.
2. Plug the supplied power cord into the AC inlet of the projector.
3. Press the On/Standby button on the projector or remote control. The lamp will turn on and an image will
appear and grow brighter on the screen.
4. Check all ventilation slots and clear away any obstructions.
5. Raise/lower projector body to extend or retract feet to obtain best image height.
Note
: Rotate feet for fine adjustment.
6. Turn the focus adjustment (top of projector) to obtain the best image sharpness.
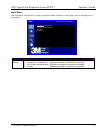
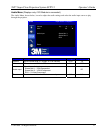
Stand By Mode
When an image is not being projected, place the unit into standby mode.
1. Press the On/Standby button on the Remote Control. When the message “Press the power button to turn the
unit off” displays, press the On/Standby button again.
2. The lamp will switch off and the power button will first turn red indicating the unit is in lockout and then
after 90 seconds the button turns amber to indicate the unit is in standby mode.
Note
: In standby mode, the cooling fans will continue to run for 5 minutes and then turn off.
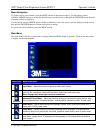
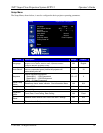
Start Up
1. Press the On/Standby button on Remote Control again to illuminate the lamp and project an image on the
screen.